This article will show you how to enable two factor authentication (2FA) on the Minecraft control panel where your Minecraft server hosting servers will be at! STEP 1 First, log in to the Minecraft control panel. STEP 2 Navigate to and click the “Profile” tab near the top left of
This article will show you how to enable two factor authentication (2FA) on the Minecraft control panel where your Minecraft server hosting servers will be at!
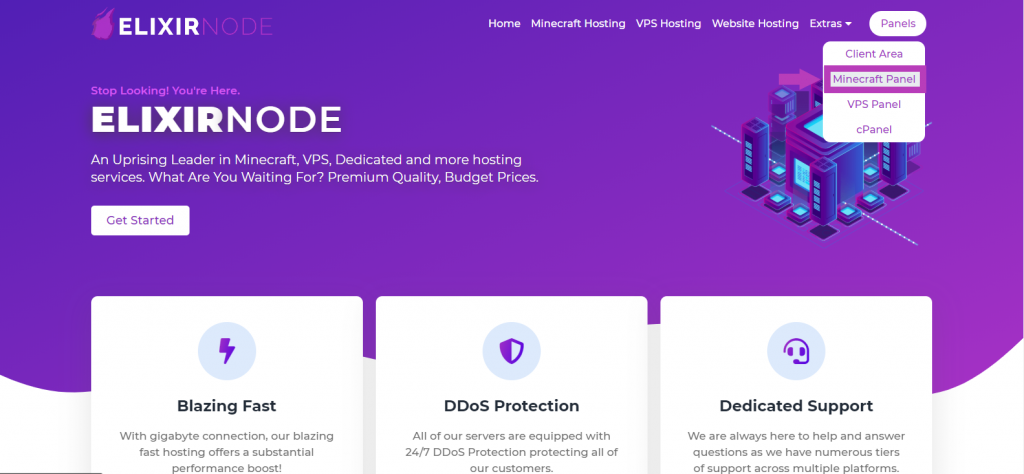
STEP 1
First, log in to the Minecraft control panel.
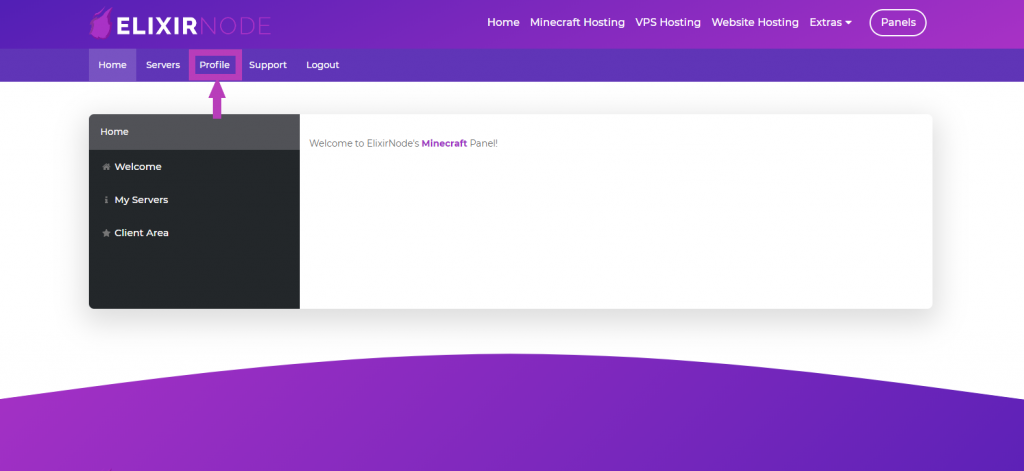
STEP 2
Navigate to and click the “Profile” tab near the top left of the window.
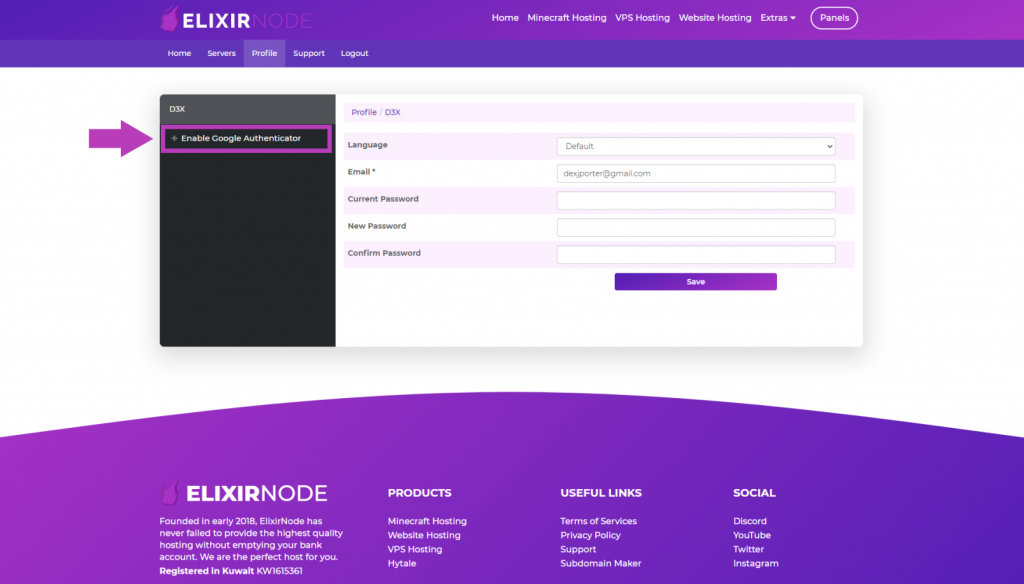
STEP 3
Select the “+ Enable Google Authenticator” button on the side of your profile page.
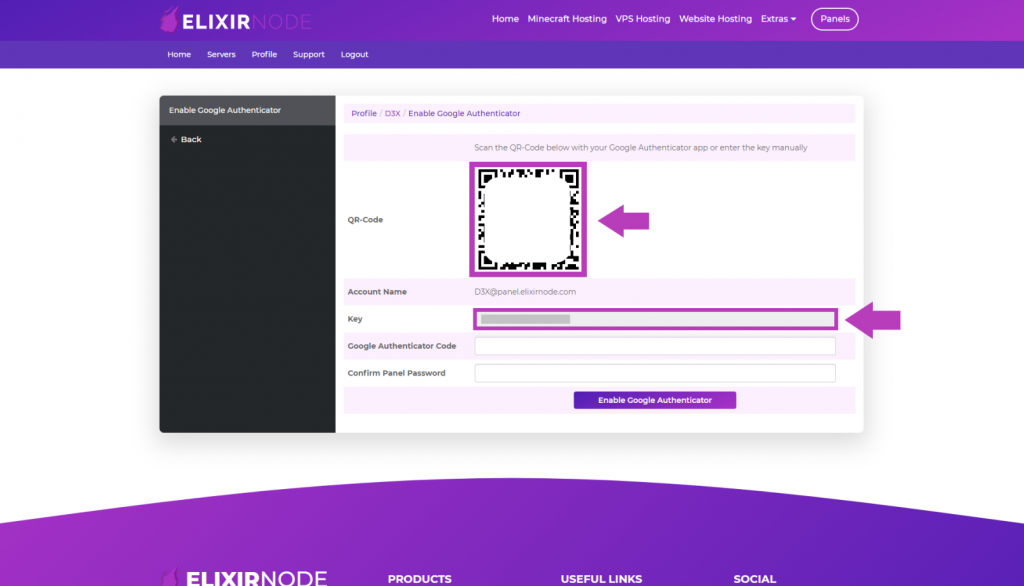
STEP 4
Use the Google Authenticator app, to scan the QR-Code. Alternatively, you can automatically enter the “Key” into the app.
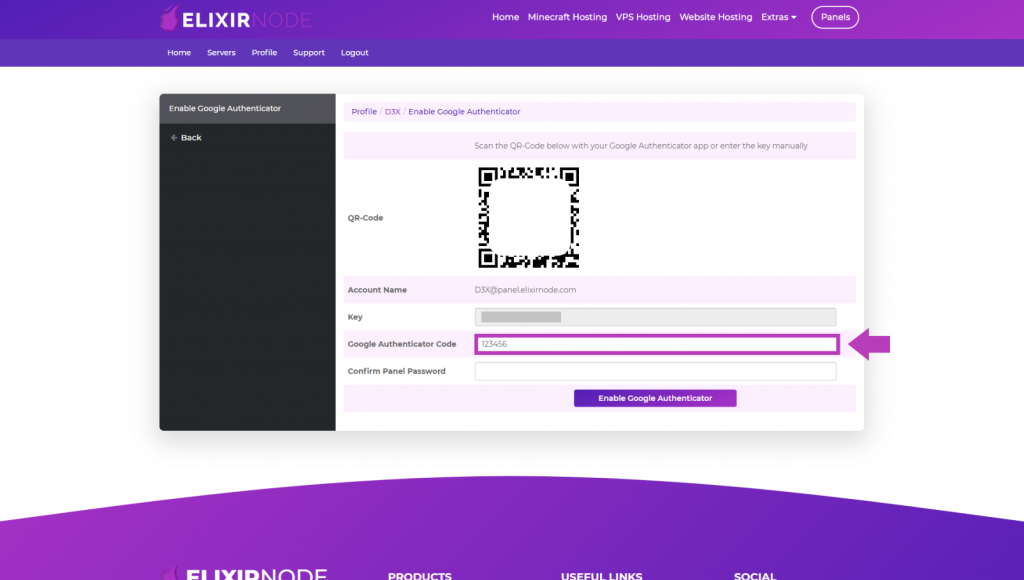
STEP 5
Now enter the six digit Authenticator code the app gives you, into the “Google Authenticator Code” section.
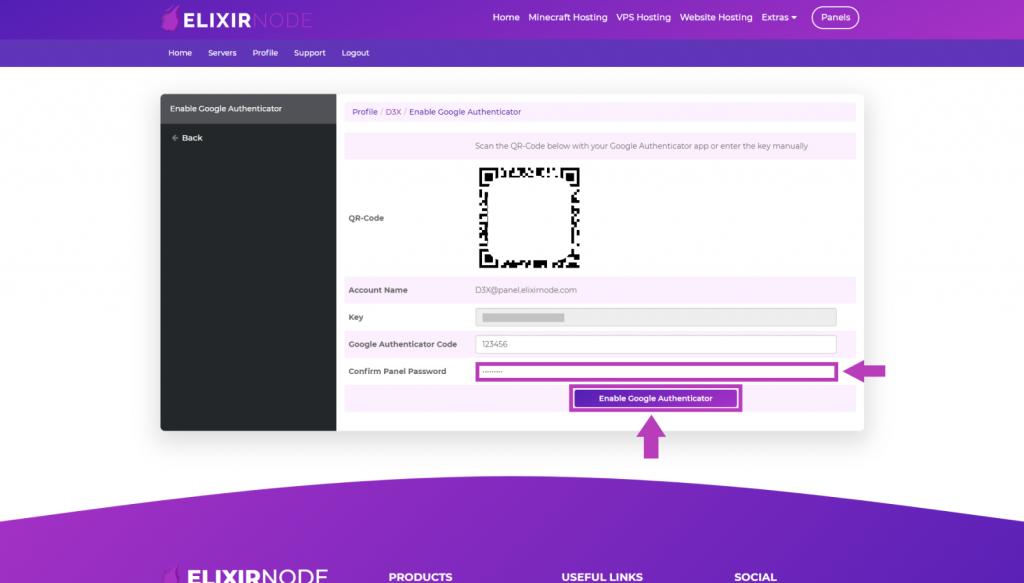
STEP 6
Finally, confirm your panel password in the “Confirm Panel Password” section and click “Enable Google Authenticator“.
If you have any questions/concerns or need further help, contact us.
FREE game server, VPS, web host, dedicated IP & more on most plans!
Get Started