In this article, we are going to explain how to enable and use RCON on your CSGO hosting server. STEP 1 Head to the game panel and log in, then go to File Management then ensure that you have put your RCON password in “csgo/cfg/server.cfg” (create it
In this article, we are going to explain how to enable and use RCON on your CSGO hosting server.
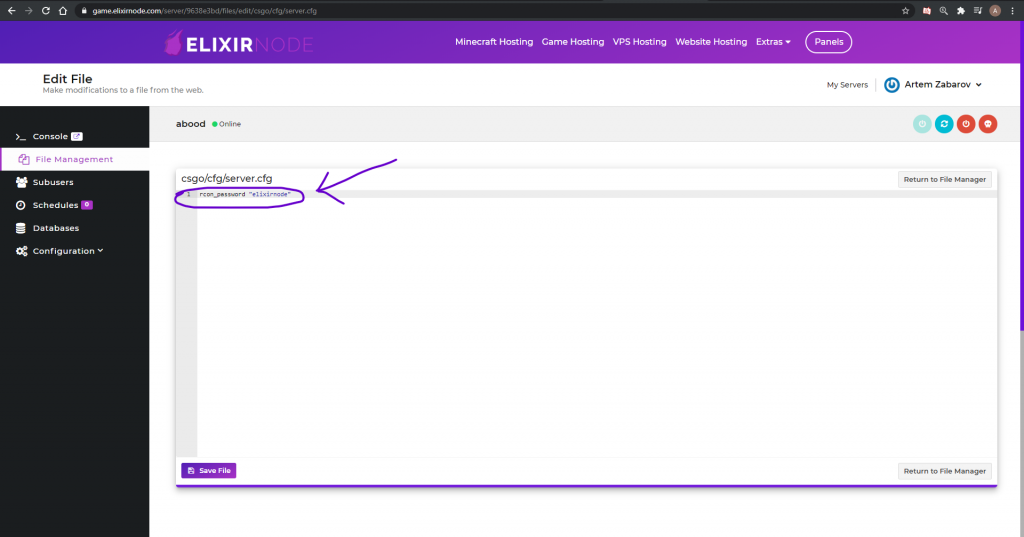
STEP 1
Head to the game panel and log in, then go to File Management then ensure that you have put your RCON password in “csgo/cfg/server.cfg” (create it if it doesn’t exist), then use the following format to input your rcon password into the file: “rcon_password <your password>” and click save.
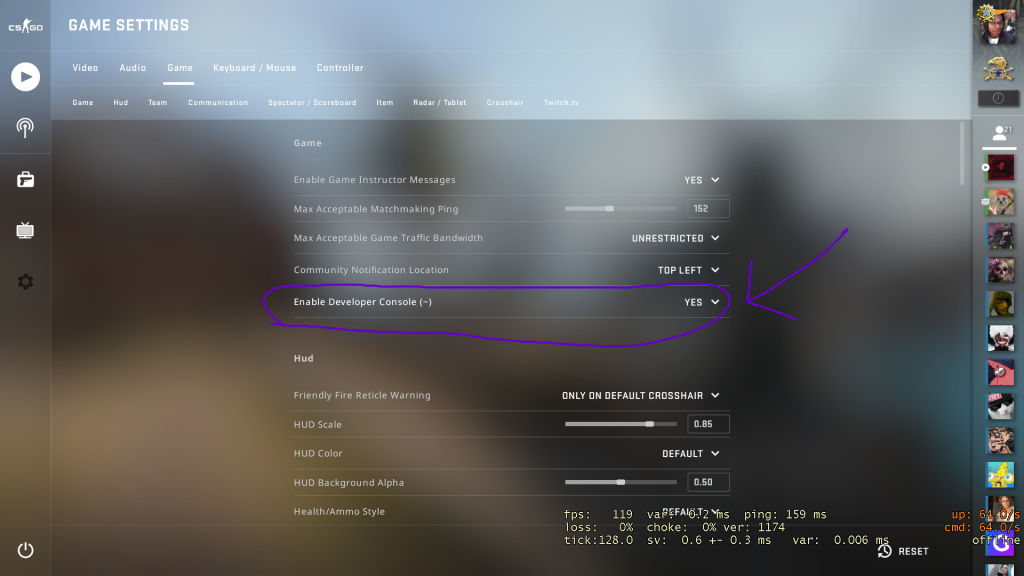
STEP 2
Open CSGO up and then ensure that console is enabled within the settings which can be found by going to “Game Settings > Game > Enable Developer Console” . Open the game console by pressing the tildo button (~) on your keyboard.
STEP 3
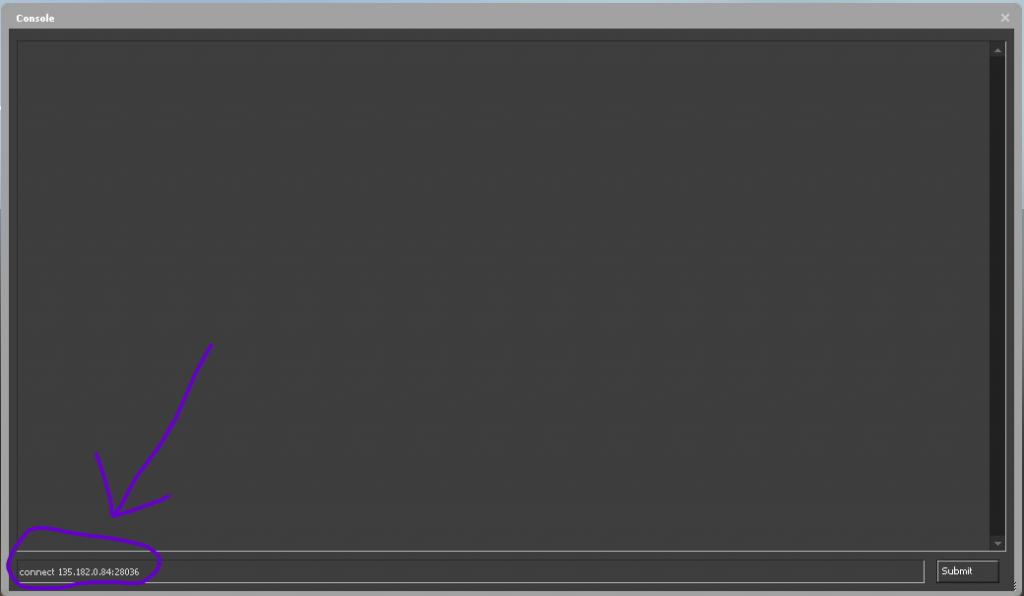
Connect to your CSGO server by typing “connect <server’s ip>” in the console and press Enter. You can find your CSGO server IP inside the game panel within your servers list.
STEP 4
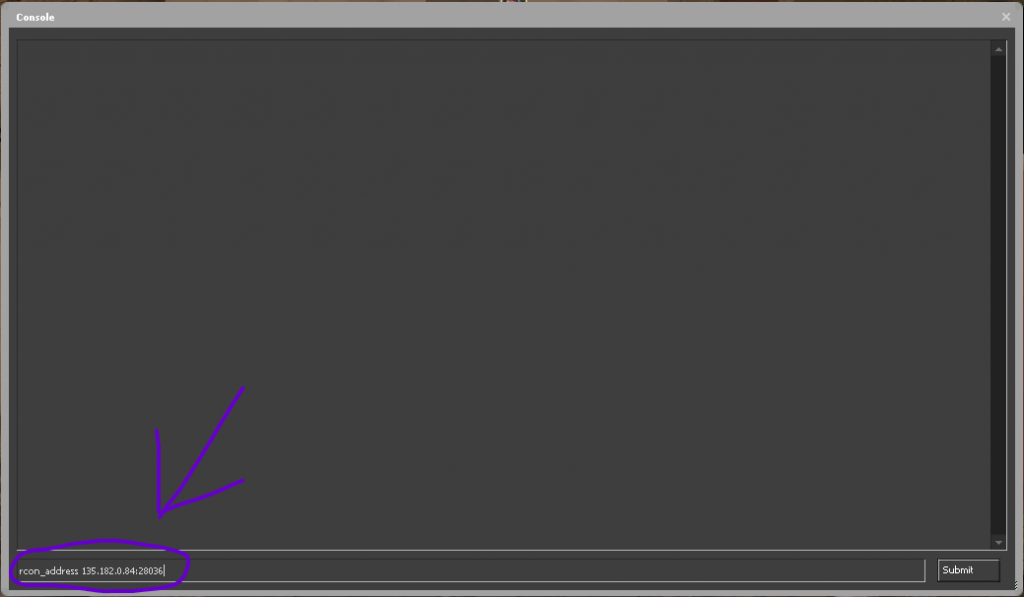
Once connected, type “rcon_address <server’s ip>” in the console and press Enter.
STEP 5
Enter “rcon_password <your rcon password>” in the console.
To check if RCON is working properly you can type “rcon status” in the same respect.

If you need any further help or have any questions contact us.
FREE game server, VPS, web host, dedicated IP & more on most plans!
Get Started