Multicraft is a very powerful dedicated Minecraft Panel that individuals, Minecraft communities, and Minecraft hosting services use. You can install it for free or buy a lifetime license for certain amount of Minecraft server host, it can be installed on anything like dedicated server or VPS hosting, of course not

Multicraft is a very powerful dedicated Minecraft Panel that individuals, Minecraft communities, and Minecraft hosting services use.
You can install it for free or buy a lifetime license for certain amount of Minecraft server host, it can be installed on anything like dedicated server or VPS hosting, of course not Minecraft hosting which would be considered shared hosting since you do not have access to the root, it’ll require something like VPS host or a dedicated server. As you will see installing it is easy. The Multicraft control panel is made of two parts. The Panel and the Daemon. The Panel is the part that users interact with and control their servers with. The Daemon is the software that runs in the background and executes the panel’s commands and manages the files and FTP server. This tutorial will go over a very quick installation of the panel and daemon so you can get Minecraft up and running as fast as possible. This is NOT for complicated or more intricate setups that use subdomains, non-standard ports or SSL. Additionally, this article is aimed to be mostly copy-pasting commands to SSH, but it’s important to read and follow carefully!
Whats the benefit to running a Minecraft server on a VPS over buying a dedicated Minecraft hosting plan by itself? Well that comes down to what you want to do. If you want to run multiple servers on a higher-end VM such as a Budget-8 (VPS 8GB Ram) and need a dedicated IP, full control, as well as run a website with a forum this is the choice for you. A VPS can do just about anything a physical GNU/Linux server can do! The only downside is the CPU speed of the VPS over the dedicated Minecraft servers. You can get a VPS yourself through ElixirNode’s VPS hosting.
STEP 1
Run all the bolded commands
sudo tasksel install lamp-server
sudo apt install -y zip php-zip php php-sqlite3 php-gd default-jre
sudo systemctl restart apache2
Pull Multicraft down from the repostory. Enter this command here wget http://www.multicraft.org/download/linux64 -O multicraft.tar.gz
Once it is complete you can extract it with tar xvzf multicraft.tar.gz and once everything is extracted you can run the setup script with cd multicraft && ./setup.sh
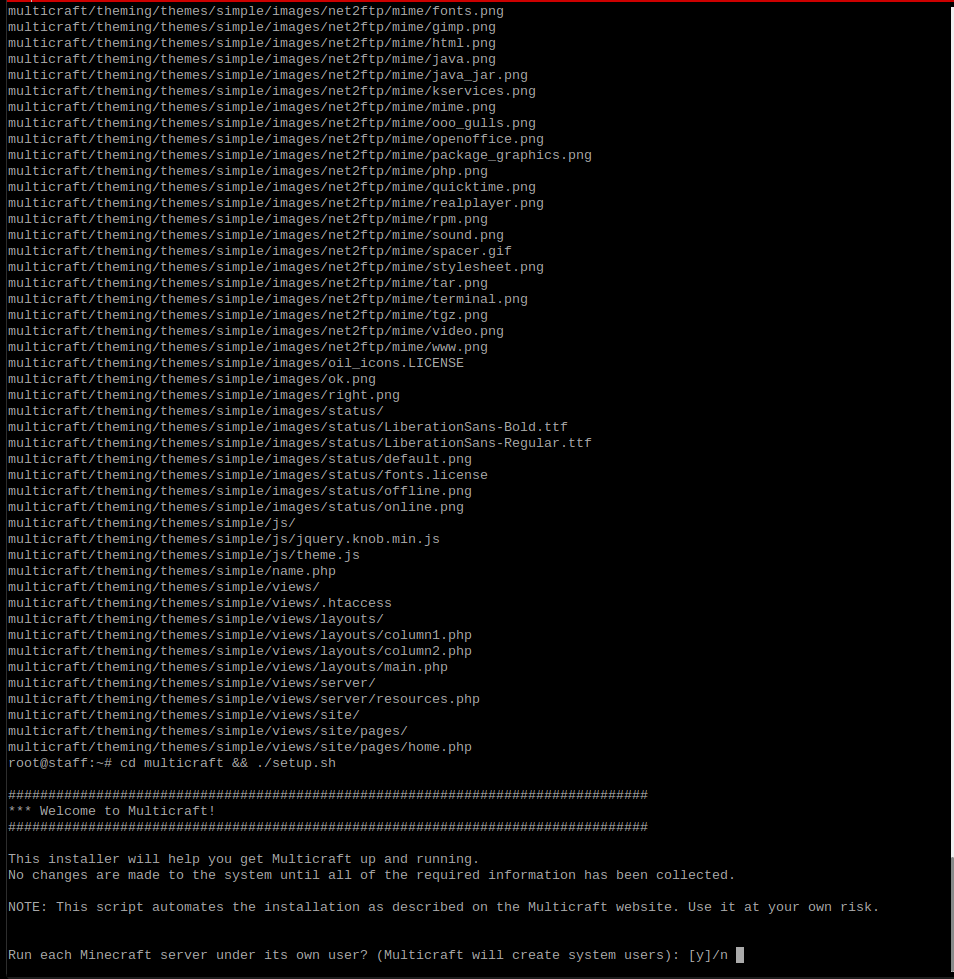
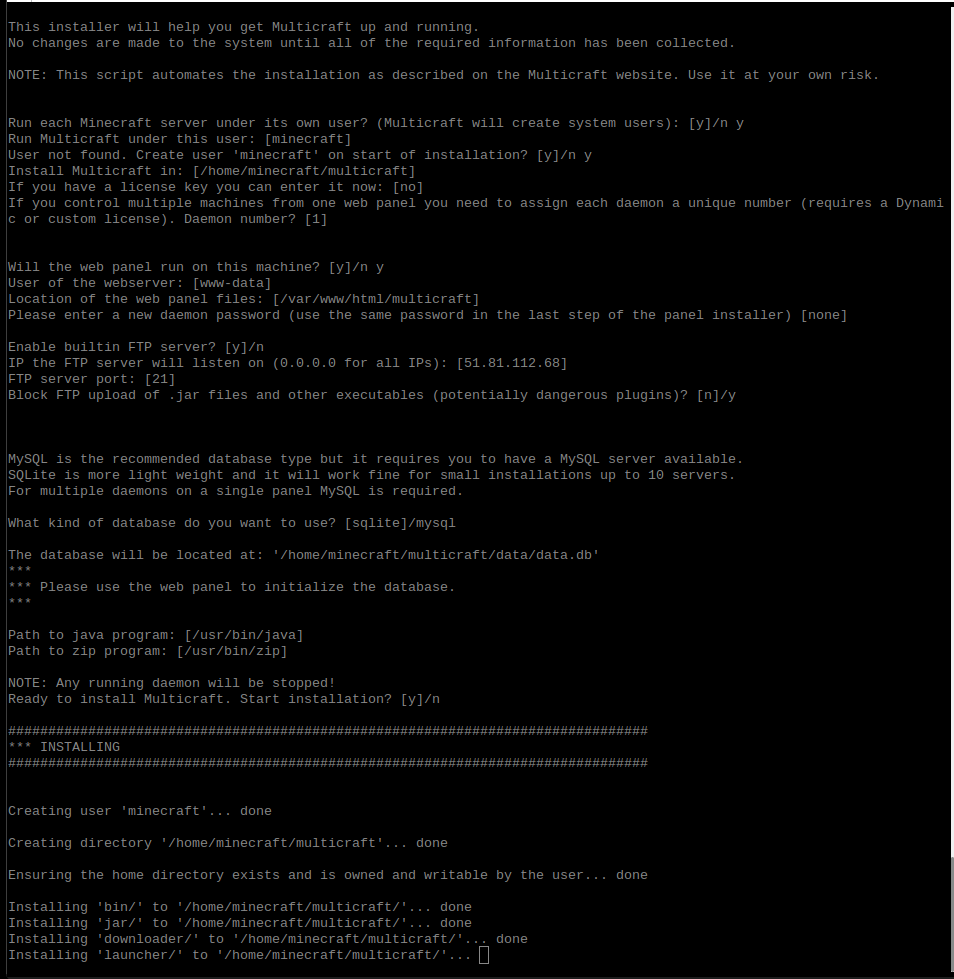
STEP 2
Lets use the setup script to install. You can get the installation done quick by just accepting the default settings.
SETP 3
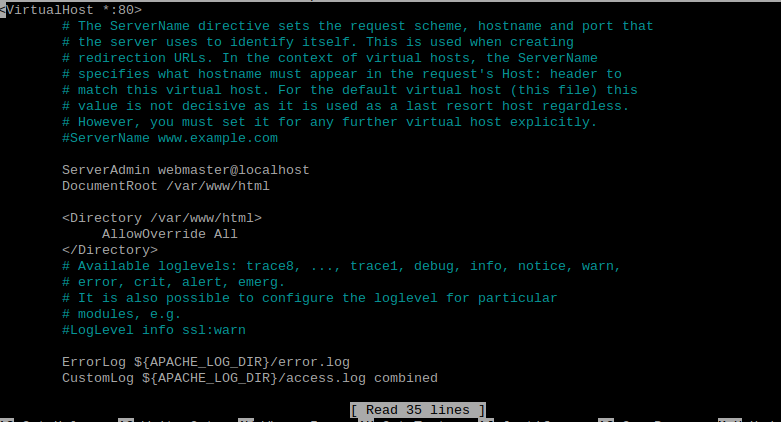
edit /etc/apache2/sites-enabled/000-default.conf
Right under the Document Root line insert
 <Directory /var/www/html>
         AllowOverride All
 </Directory>
to protect you server’s files from danger. Then
run cp /var/www/html/multicraft/protected/config/config.php.dist /var/www/html/multicraft/protected/config/config.php then
run chown www-data:www-data /var/www/html/multicraft/protected/config/config.php
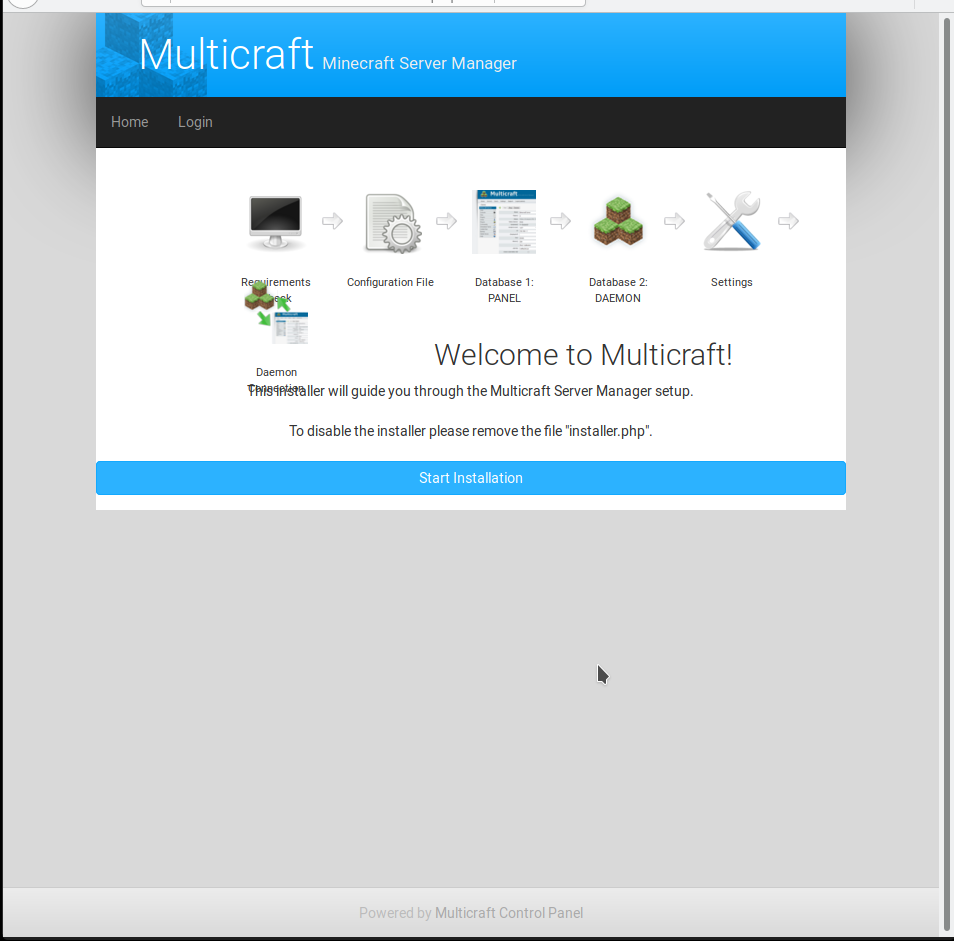
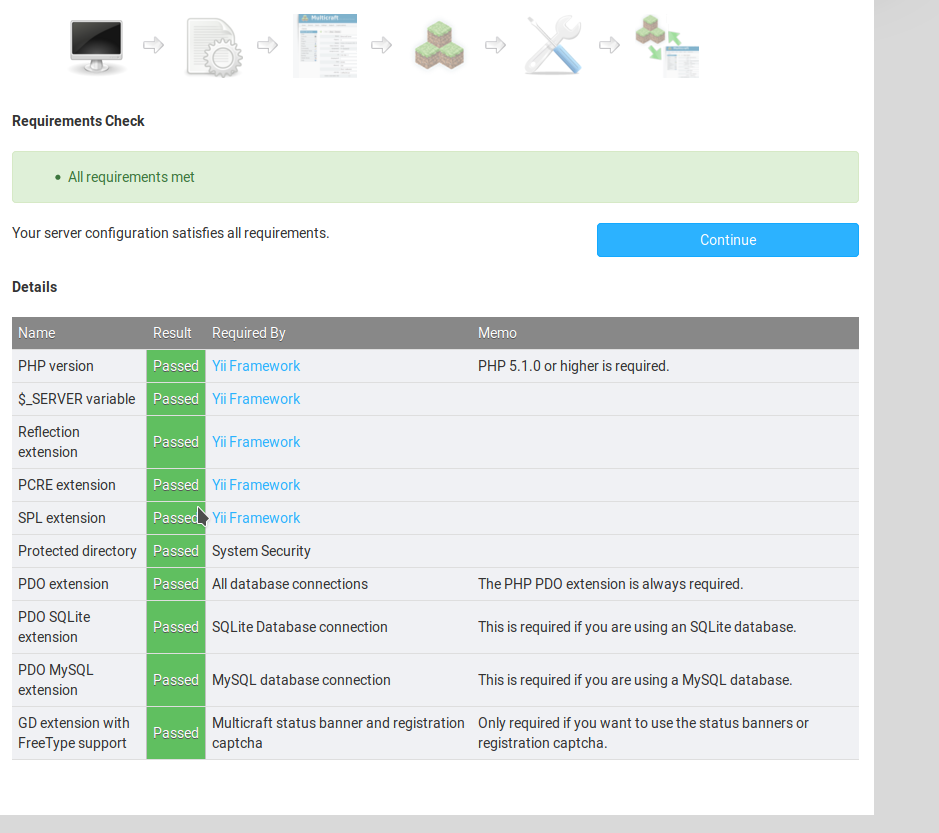
STEP 4
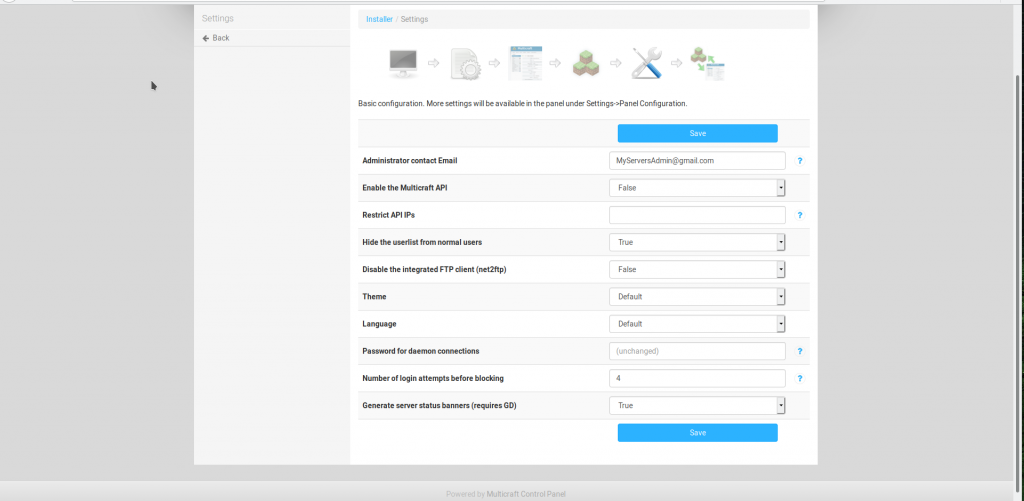
Go through the setup the setup can be found at http://your-server-ip/multicraft From there click begin and ensure that all the checks are passed. Then click continue. Once on the database page just click “Initialize Database” to use SQLite. If you are a more advance user you can use a Database server such as MySQL. The Final step is to put in your contact email and click save.
STEP 5
Now that the frontend is done we need to setup the Daemon to run the Minecraft servers. All the settings should be good so run /home/minecraft/multicraft/bin/multicraft start to start the Daemon. Click the blue refresh button at the bottom. You should see your Daemon pop up. Click continue. Once done you should see a congratulations screen! Once done go to http://your_ip/multicraft and click login. Use admin as the username and password. If you see 500 errors go through the installation again at http://your-server-ip/multicraft/install.php Once you can confirm you see no errors, run rm /var/www/html/multicraft/install.php

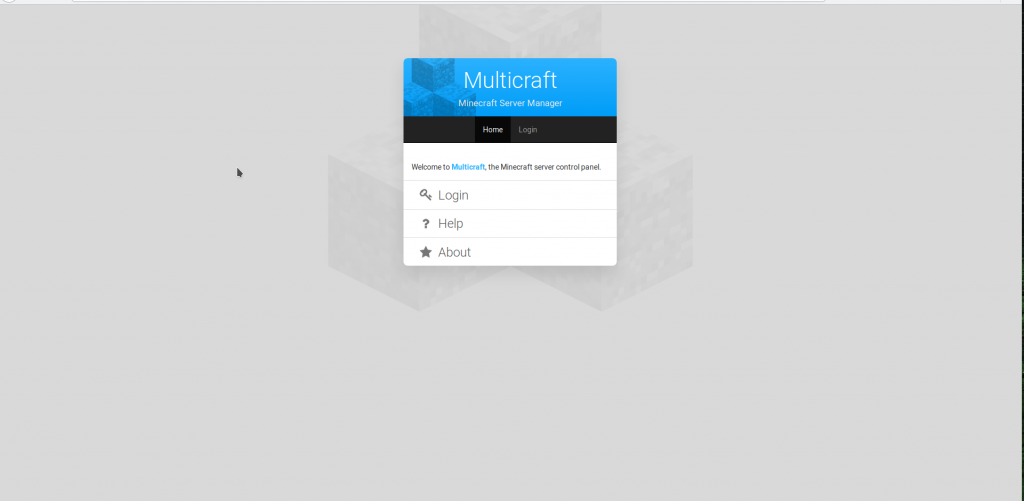
From there, go to Users -> MyUser to change your password type admin for current password, and then enter your new password twice. Once complete log in again. You can now create your first server
STEP 6
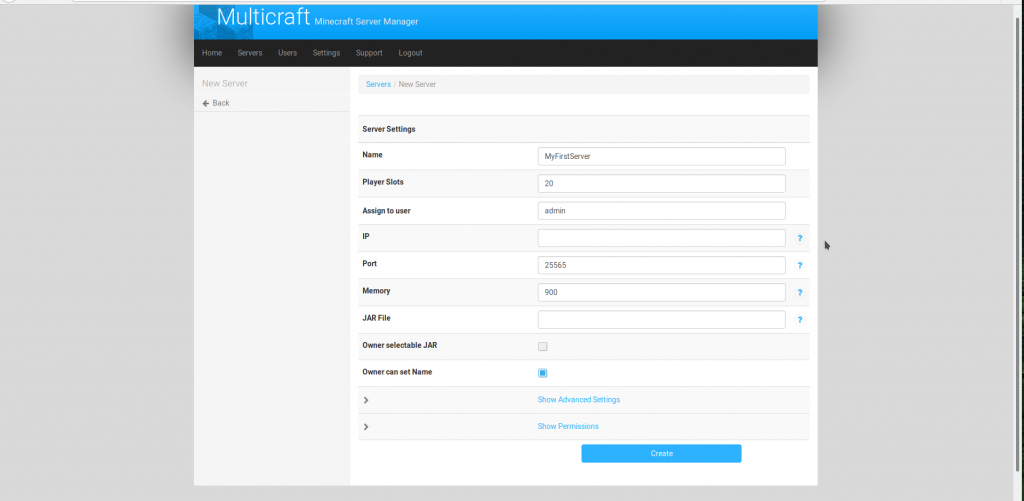
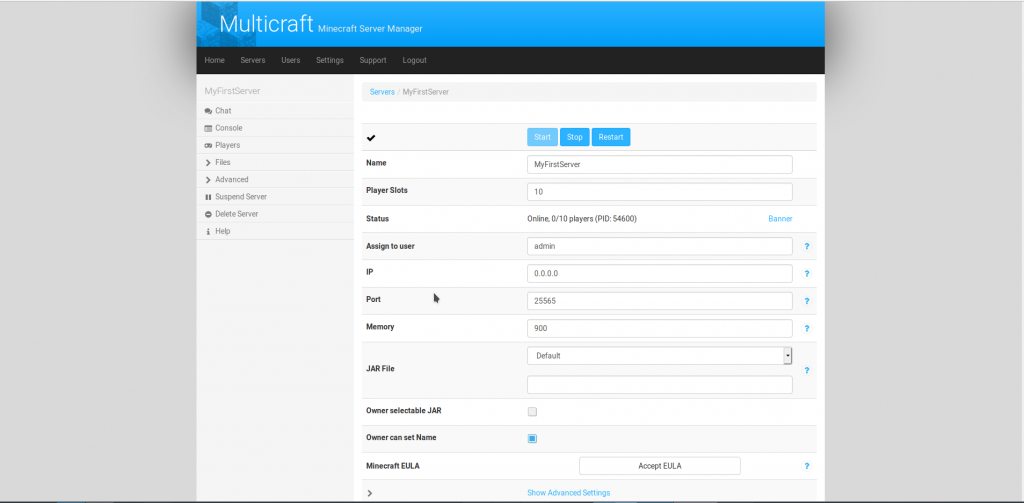
Create your first server by clicking on Create Server, Fill out the form (as shown below) and wait. Your server should be created soon. Accept the Eula by clicking the Accept Eula button and then click the blue start button. Then go into the console by clicking on the console button in the left menu and watch your server start!
Testing your server
Once your server is started put your IP address in your Minecraft client like you normally would and join. If all is good then you should be in your world!

If you have any further questions or still need help, contact us.
FREE game server, VPS, web host, dedicated IP & more on most plans!
Get Started