This article will guide you through the steps required to reset your Minecraft server files using the game panel. STEP 1 Log in to the game control panel and select the server you wish to reset the files on. Click ‘Manage‘ on the target server as shown below. STEP 2
This article will guide you through the steps required to reset your Minecraft server files using the game panel.
STEP 1
Log in to the game control panel and select the server you wish to reset the files on. Click ‘Manage‘ on the target server as shown below.

STEP 2
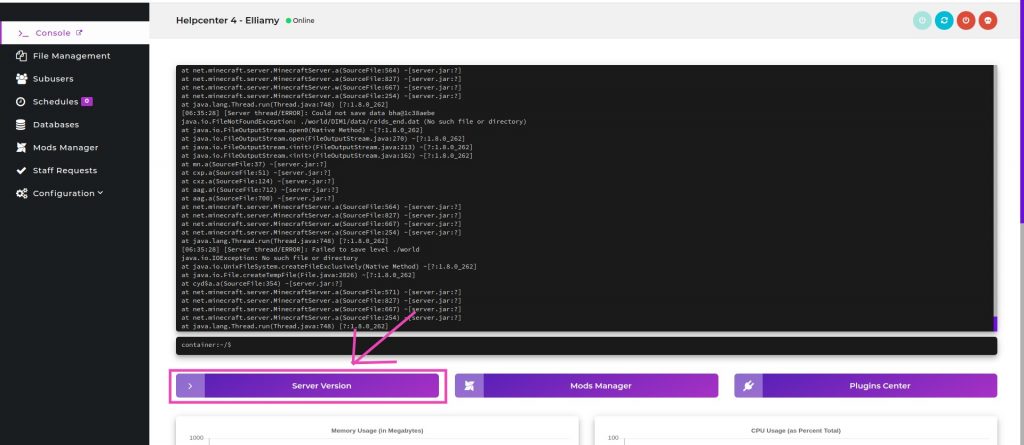
Click on ‘Server Version‘ which can be found just underneath the console, and is shown in the image below.
STEP 3
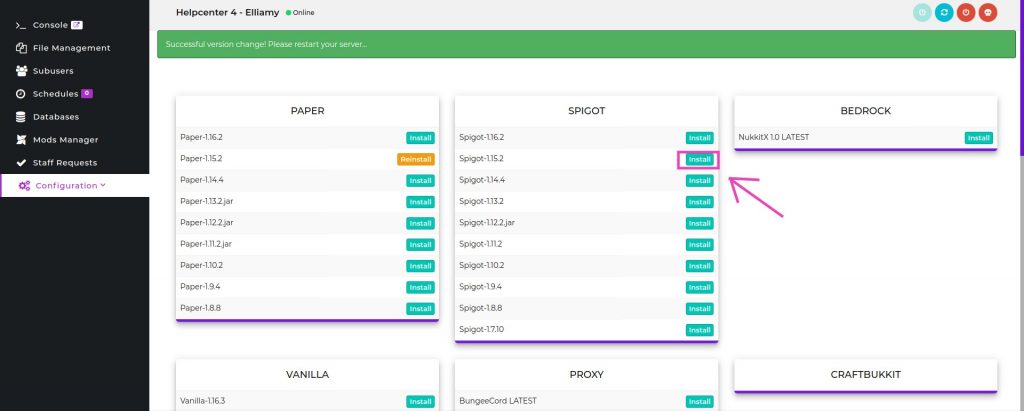
From here, select the version of Minecraft you wish to use, then click on the ‘Install‘ button. For the demonstration in this article, I will be using spigot 1.15.2. If you don’t wish to change versions, click on ‘Reinstall’.
STEP 4
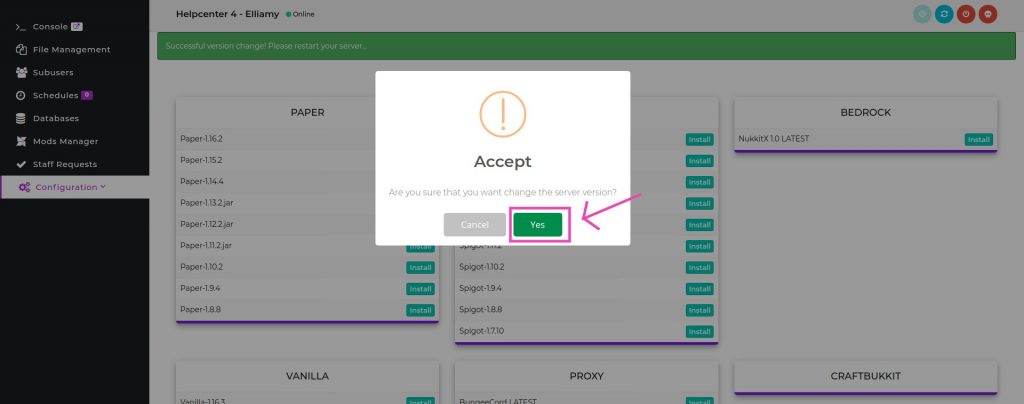
From here, select ‘Yes‘ to the prompt asking if you wish to change versions to that version.
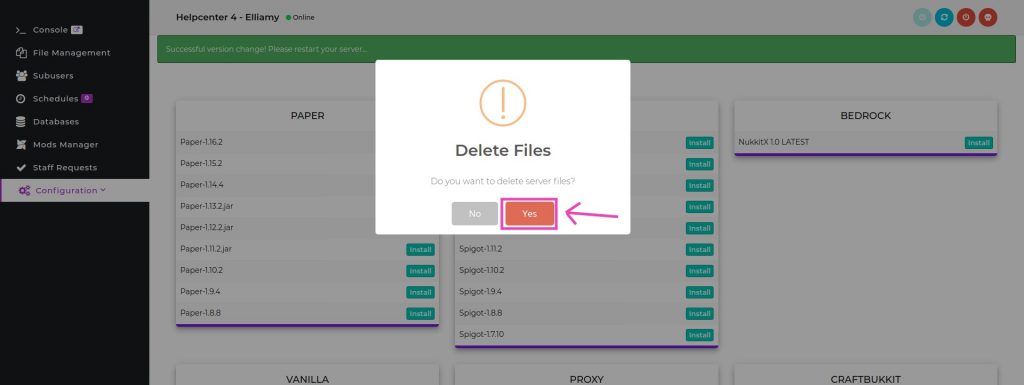
STEP 5
Finally, select ‘Yes‘ to the prompt asking if you wish to reset your server files. Your files will now be reset, and the version of Minecraft you selected will be installed.
If you have any questions or need any help, contact us.
FREE game server, VPS, web host, dedicated IP & more on most plans!
Get Started