
This tutorial will guide you through making your own bans website using Litebans. Please note that in order to set this up, you need a domain and website hosting attached to that domain, as Litebans only provides the UI for setting up your bans website. This guide assumes that you
This tutorial will guide you through making your own bans website using Litebans. Please note that in order to set this up, you need a domain and website hosting attached to that domain, as Litebans only provides the UI for setting up your bans website.
This guide assumes that you already know how to install plugins and have Litebans downloaded. This guide will also talk through setting up the Litebans UI through the cPanel provided by ElixirNode’s website hosting packages.
STEP 1
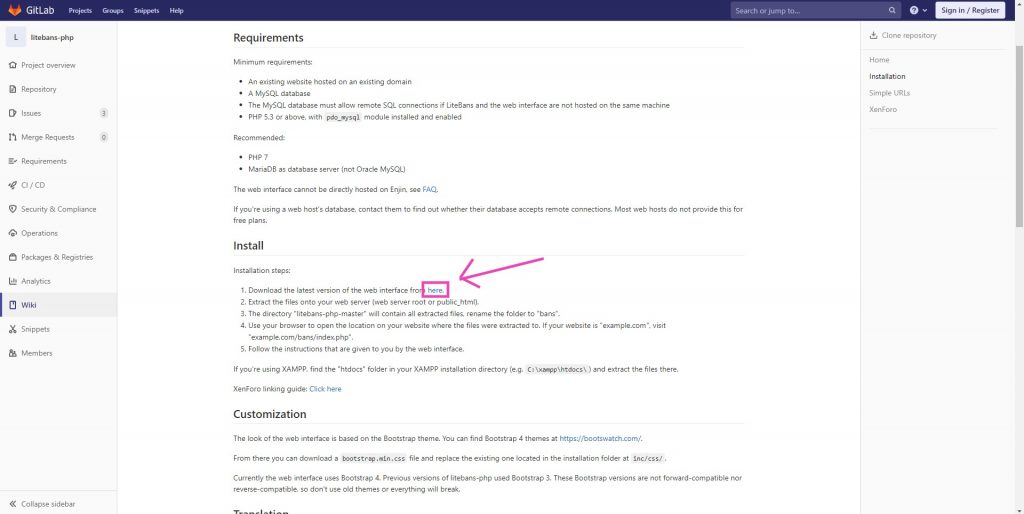
Download the litebans web UI package, here.
STEP 2
Log into your cPanel and navigate to “MySQL databases“

STEP 3
Create a new database. This database can have any name, but for this example, we shall call it ElixirServer

STEP 4
Scroll down the page to the section where you can add new users. Add a new user to this database, and assign it a password, which for this example, we will use the username and password, Elixirnode // ElixirRiver

STEP 5
Under the “Add new user” section is a section to add users to databases. Select your new database and add your new user to it.

STEP 6
You will now be prompted to choose what permissions to give your new user. Select “All privileges” then “Make changes“

Congratulations on making it this far! We’ll be heading over to the game panel for the next part of this tutorial, but keep your cPanel open in the background as it will be needed later.
STEP 7
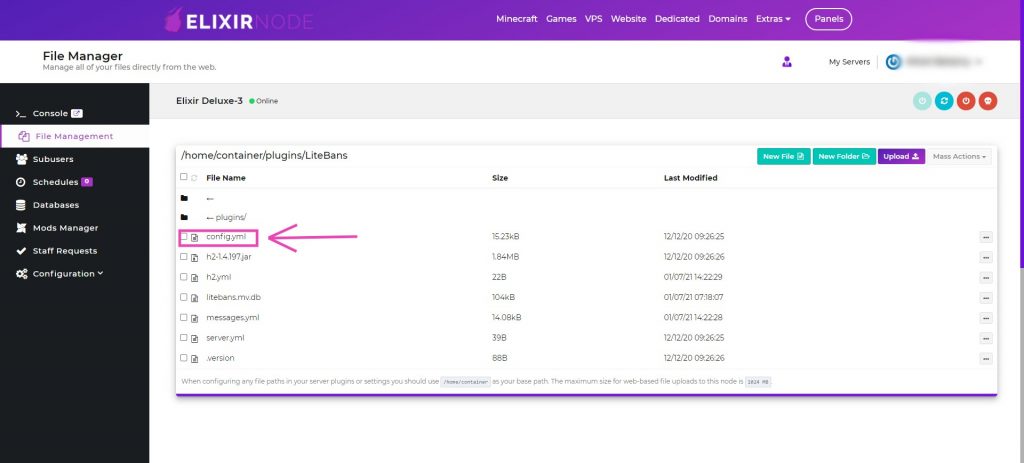
On the game panel, under “File management“, navigate to “\plugins\litebans” and open the “config.yml” file.
STEP 8
Make the following changes to the config.yml file. Line numbers are provided for your convenience and are correct at the time of writing for a fresh install of litebans 2.6.3
Change the “Driver” to MySQL (line 34)
Change the “Address” to your website hosting IP address, with port 3306 (line 41)
Change the “Database“, “Username” and “Password” settings to the database name and the new user’s username and password you created in steps 3 and 5, in this case [elliamy_ElixirServer] and user [Elliamy_ElixirNode, ElixirRiver]. (These settings can be found on lines 44, 45, and 46)
Once those changes have been made, save the file and restart the server.

STEP 9
If done correctly, you should now see an ERROR in your console. Please don’t worry, this is expected! The error should look something like this:
Error: Failed to initialize pool: Access denied for user ‘elliamy_ElixirNode’@’ns34703-.ip-51-387-10.net’ (using password: YES)
You should copy the part of the error after the @ sign, in this case, ns34703-.ip-51-387-10.net
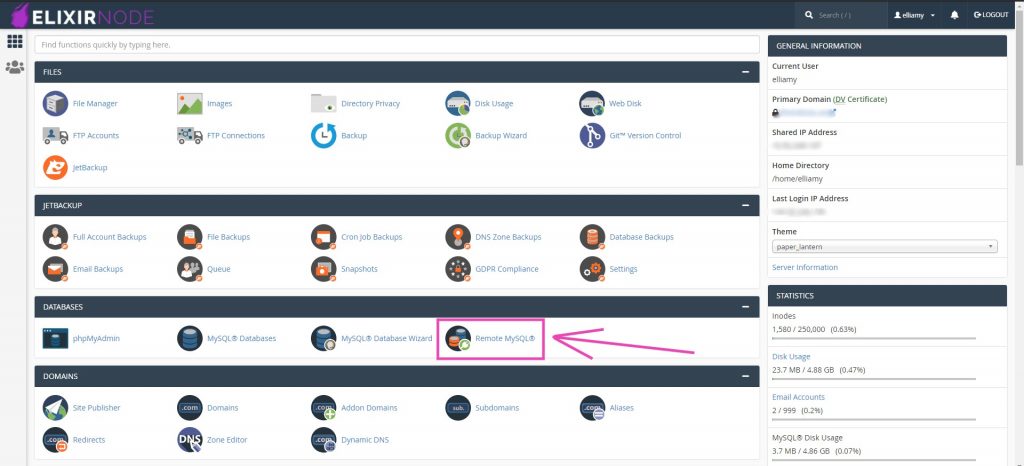
Keep this copied or saved somewhere safe, and navigate back to the website hosting “cPanel” and select “Remote MySQL“
STEP 10
Paste the part of the error you copied earlier into the “Host” box, then click “Add Host“. Now restart your Minecraft server.

STEP 11
Now we have litebans connected to our newly created database, all that’s left is to set up the web UI we downloaded in step 1! Navigate back to your website hosting “cPanel” home page, and click on “File manager“

STEP 12
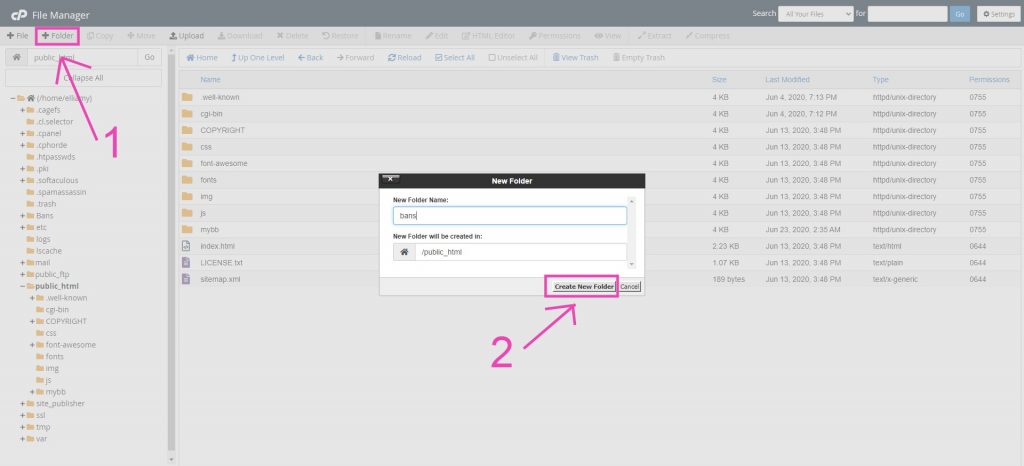
Navigate to the “Public_html” folder and create a new folder called “bans“
STEP 13
In the “bans” folder, upload the UI we downloaded in step 1, by clicking the “Upload” button on the upper toolbar, then clicking on “Choose file” then double-clicking on the downloaded file.

STEP 14
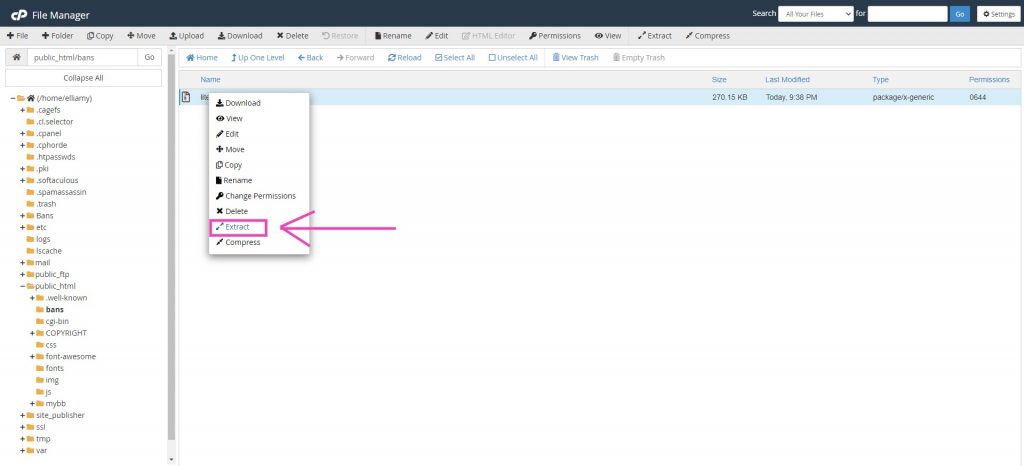
Extract all the files from the zip and place them in the “bans” folder.
STEP 15
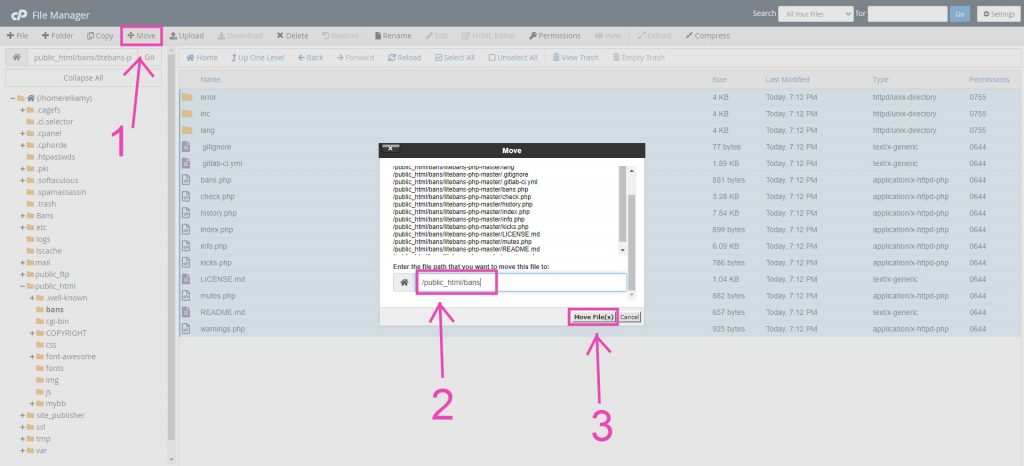
Move all the files from the extracted folder the the “bans” folder.
STEP 16
In the “bans” folder, navigate to the “inc” folder and locate the file “settings.php”. Right-click on this file and select “Edit“.

STEP 17
Change the fields labeled “database“, “username” and “password” to the same as it was in step 8. Please keep “host” as “localhost“. Then hit “Save changes“

Congratulations! You should now have a bans website, which you can access at “yourdomain/bans“!!!!!

If you’ve made it this far, you must be looking to make the best possible hosting for Minecraft server! Here at Elixirnode, we strive to help make your server succeed! We’ve compiled some extra tips and tricks to create the best hosting for Minecraft server there is, and the best website hosting tips to get all the rest of your web work done with ease! Check them out below!
– Litebans can conflict with Essentials when trying to execute commands via the console. Ensure you use Litebans:command when using the console to avoid using Essentials instead! You can, however, head to the config.yml file of essentials, and add to a list of overridden commands (line 162), to default to Litebans instead of Essentials
– Ensure you follow steps 7-9 on all servers in a bungee configuration to see the bans across your network.
– Litebans is an amazing premium plugin! if you’re looking for a few more premium plugins to add to your server, check out our top picks here.
– Did you know you can add a GUI bans plugin to Litebans, allowing staff members to select pre-set offenses with pre-set ban durations, giving punishments on your server a consistent approach? Check out Spigot and bukkit for some ban GUI plugins!
If you still need help, contact us
FREE game server, VPS, web host, dedicated IP & more on most plans!
Get Started