
Hostile mobs are not random; they spawn in specific places under specific conditions. Here is what I learned after losing bases to creepers, witches, and drowned—and how to completely take control of your environment.
I built my first base in a swamp because it seemed convenient at the time. Water was everywhere for easy farming. The terrain was flat for simple construction. Building felt effortless. Then night fell, and everything changed. Witches spawned inside my house. Three of them appeared at once. I died before I could understand what was happening.
This experience taught me a hard lesson. Hostile mobs are not random creatures that appear out of nowhere. They spawn in specific places under specific conditions. When you learn these locations, you gain control over your safety. When you ignore them, you build your home in a death trap without realizing it.
Sunlight is your shield. When it fades, the surface becomes hostile territory. Light level 7 or below triggers the spawn cycle everywhere.

Zombies spawn in groups of four. Always in groups. Kill one, three more keep coming. They burn in sunlight, but that takes time. A zombie in your doorway at dawn still bites before it dies.
I thought doors kept me safe. On Hard difficulty, zombies break doors. Wooden doors are decoration, not protection. I learned this losing my first hardcore world. Full iron armor. Base secure. Door broke. Dead before I processed the sound.
Zombie variants expand the threat. Husks spawn in deserts, immune to sunlight, apply hunger. Drowned spawn from zombies falling in water, or naturally in oceans. They throw tridents if they find them. Fifteen percent chance. I have been one-shot by drowned tridents more times than I care to admit.

Skeletons groan. You hear them. But in caves, in forests, in noise, you miss the sound. Then an arrow hits your back.
They seek shade during the day. Under trees, in water, in caves. A skeleton at noon under an oak is still shooting. Do not assume daylight means safety.
Strays spawn in cold biomes. Their arrows apply slowness. Running fails. Fighting fails. You slow, they shoot, you die. Cold biomes demand extra lighting, extra walls, extra paranoia.

No idle sounds. No footsteps. The first warning is the hiss. 1.5 seconds until explosion. Sprint away immediately. Any delay costs health, inventory, or life.
I have lost three bases to creepers. One blew up my chest room. One destroyed my enchanting setup. One killed me carrying my first diamonds. All three times, I never heard them coming.
Creepers fear cats. Cat presence within six blocks prevents their spawn. My perimeter is now cat territory. Decorative and functional. The only mob deterrent that works passively.
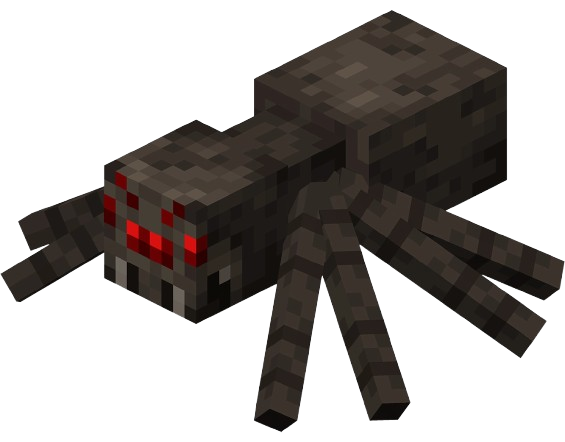
Spiders climb. Walls, fences, overhangs. Two blocks high is not enough. They scale, they drop, they attack from above.
Daylight makes them neutral. They ignore you in the sun. But caves are dark. Night falls. Your lit base has one shadow. Spider spawns there. Climbs your wall. Drops inside.
Cave spiders are worse. Mineshaft spawners only. Smaller. Poison lasts ten seconds. Stacks with multiple bites. I have died to poison after killing the spider. Health ticked to zero while I celebrated.

Witches are dangerous because they use potions. They spawn in swamp huts, dark areas, and during raids. I made the mistake of building my first base near a swamp hut. Every night, a witch spawned inside my house. She threw potions of harming, slowness, and weakness at me. She also drank healing and fire resistance potions to protect herself. I could not kill her faster than she healed.
I burned that base down. I moved to the plains biome. I never build near swamps anymore. Witch hut locations are fixed during world generation. Always check your surroundings before building your permanent home.
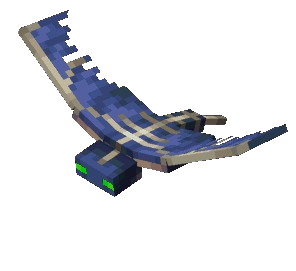
Phantoms spawn above players who have not slept for three in-game days. They appear in the sky. They dive down to attack. You can hear them screech before they hit. Shields block their attacks completely. The timing is easy once you practice.
I ignored sleeping during my first week of playing. I thought beds were optional. On the third night without sleep, phantoms appeared. On the fourth night, multiple phantoms attacked. On the fifth night, I died repeatedly. I could not sleep because monsters were nearby. I could not fight because phantoms kept hitting me. I could not escape because they flew faster than I ran. Now I sleep every two days minimum. This rule is non-negotiable for me.
Caves have no sun. No natural safety. Light is your responsibility.
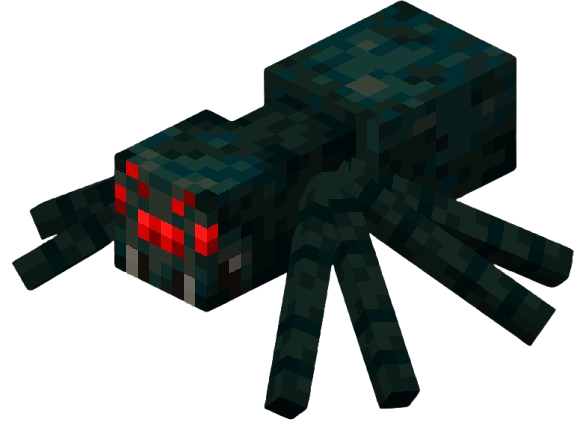
Cave spiders come from spawners in abandoned mineshafts. They spawn endlessly. Their poison is the real threat, not their bite damage. The poison lasts ten seconds. Multiple bites make the poison last longer. I have died at full health because poison from several bites kept draining my health after I killed the spiders.
Torches do not stop spawners. Spawners ignore light completely. You must destroy the spawner or build a farm around it. I turned my mineshaft spawner into a farm. I built water elevators to move the spiders. I created a drop chamber. I made a kill zone. It was dangerous to build, but now I get infinite string and spider eyes.
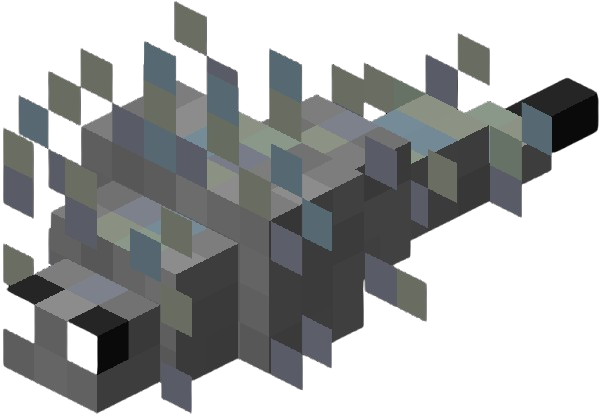
Silverfish hide in strongholds and igloo basements. They hide inside blocks called infested blocks. When you break these blocks, silverfish come out. One silverfish is weak. Many silverfish are deadly. I broke one wall block in a stronghold once. Fifteen silverfish came out. I died before I could place a torch to see them.
Igloo basements always have a silverfish spawner. This is a guaranteed location. I mark these igloos on my map. I return later with proper armor and weapons. Early in the game, I avoid silverfish completely. They are not worth the risk.

Slimes spawn in swamps at night. They also spawn underground in special chunks called slime chunks. These chunks are determined by your world seed. You can use online calculators to find them. I dug down to level negative forty once. I built a dark room. I waited for slimes to spawn. Nothing came. I was in the wrong chunks. I dug elsewhere. Finally, slimes appeared. It took three hours of trial and error. Now I have infinite slime balls.
Slimes split when you kill them. Large slimes become medium slimes. Medium slimes become small slimes. You get three small slimes from one large slime. This means more experience and more drops. Automatic farms use water and lava to split and kill slimes. These farms are complex to build but very rewarding.
Water is not safe. Specific structures host specific threats.
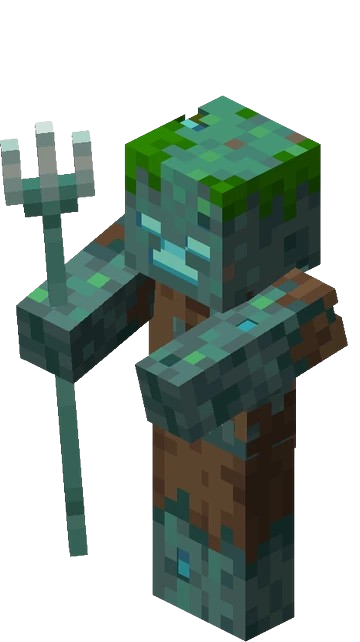
Drowned are underwater zombies. Zombies can convert into drowned. Drowned also spawn naturally in oceans and rivers. They sometimes hold tridents. The chance is fifteen percent. This seems rare until you meet one. I have been killed in one hit by a drowned with a trident. I had full iron armor and full health. Tridents ignore some armor protection. Drowned can throw tridents forever. They never run out.
Drowned sometimes drop nautilus shells. These are rare. You need them to craft conduits. Conduits let you breathe underwater, see underwater, and mine faster underwater. Farming drowned is necessary if you want conduits. It is dangerous but necessary.
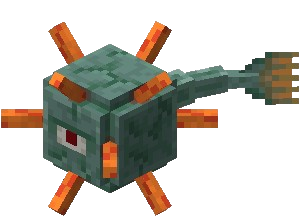
Guardians live in ocean monuments. They shoot lasers. The laser takes three seconds to charge. They also hurt you when you hit them because of thorns. Elder guardians give you mining fatigue. This makes you mine blocks very slowly. You cannot mine at all with mining fatigue.
My first ocean monument raid failed completely. I brought no milk. I had no night vision potions. I had weak armor. I could not mine blocks to escape. I could not fight the guardians. I could not see in the dark water. I drowned many times. I came back later with milk buckets, night vision potions, and proper armor. I succeeded. Preparation matters for ocean monuments.
Guardians drop wet sponges. These are the only source of sponges in the game. You dry wet sponges in a furnace. Then you can use them to remove water from areas. I keep stacks of sponges for building projects.
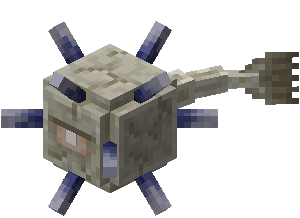
Each ocean monument has one elder guardian. There are usually three monuments per world, so three elder guardians total. They give you mining fatigue for five minutes. Their laser attack goes through walls. You cannot hide from it.
Evokers drop totems of undying, not elder guardians. I made a mistake earlier. Elder guardians drop tide armor trims. These are rare and decorative. They show you conquered the monument.
No sun. No safety. Hostility is constant.
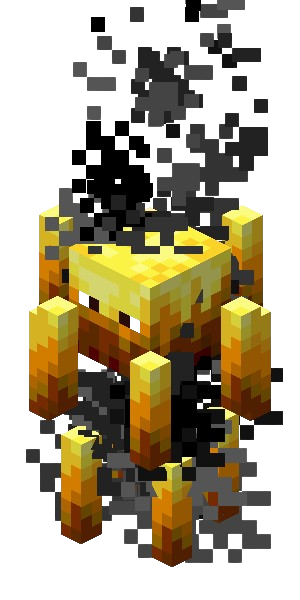
Blazes only spawn in Nether fortresses. They float and shoot fireballs. They drop blaze rods. You need blaze rods for brewing potions. You also need them to make eyes of ender. Eyes of Ender are required to reach the End dimension. The entire end-game requires blaze rods.
I avoided Nether fortresses on my first trip to the Nether. I was too scared. Then I needed potions. I had to go back. I died ten times learning the fortress layout. Now I can speedrun through fortresses. Fear becomes familiarity with practice.

Ghasts are huge floating white creatures in the Nether. They shoot explosive fireballs. The explosions destroy terrain. They can destroy your Nether portal. If your portal breaks, you are trapped in the Nether. I always carry flint and steel. I can relight my portal if a ghast breaks it. This is my emergency backup.
You can deflect ghast fireballs with your sword. Swing your sword just as the fireball reaches you. The fireball flies back at the ghast. If you hit the ghast directly, it dies instantly. This is difficult to time. It is worth practicing.
Ghasts drop ghast tears. You need these for regeneration potions. These potions are rare and valuable. I farm ghasts now. I practice my deflection timing. I gather resources at the same time. This serves two purposes.
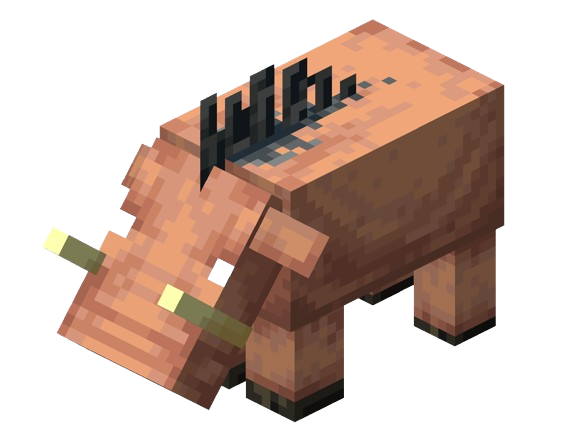
Hoglins spawn in crimson forests in the Nether. They charge at you to attack. You can breed them with crimson fungus. They are a food source in the Nether. Piglins hunt hoglins naturally. You can watch this happen.
I built a hoglin farm once. I used fences and water to collect them. I got cooked porkchops without ever returning to the Overworld. This was efficient. It was dangerous to build because hoglins hit hard. It was worth the effort eventually.
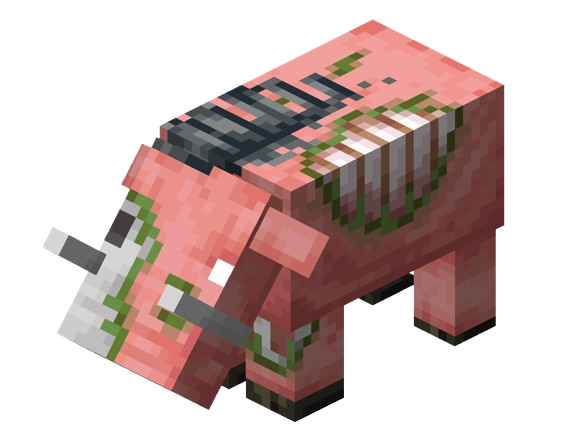
If you bring a hoglin to the Overworld, it becomes a zoglin immediately. Zoglins are hostile to everything. They attack players, other mobs, villagers, and iron golems. You cannot breed them. They serve no purpose. They only cause destruction.
I brought a zoglin to my base once. I thought it would be cool. It killed my villagers. It killed my cows. It killed my sheep. It took me an hour to kill it. I will never do that again.

Magma cubes are Nether-only hostile mobs. They spawn in Basalt Deltas and Nether Wastes biomes. When you kill a large magma cube, it splits into smaller magma cubes. This works exactly like slimes splitting. Magma cubes deal fire damage when you touch them.
They drop magma cream when you kill them. You use magma cream to brew Fire Resistance potions. Fire Resistance is essential for safe Nether exploration. Farming magma cubes requires flat terrain for them to spawn. You need Fire Resistance potions to protect yourself while collecting them.

Piglin brutes only spawn in bastion remnants. They are always hostile to you. Wearing gold armor does not help with them. They attack you no matter what. They use axes. They have high health. They move fast. They are the most dangerous normal mob in the Nether.
I avoid them early in the game. In the mid-game, I only fight them with ranged weapons. In the late game, I wear full netherite armor and hold a totem of undying. I still respect them. One mistake can cost you everything.
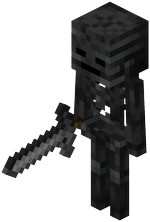
Wither skeletons spawn in Nether fortresses. They are taller than normal skeletons. They use swords instead of bows. They give you the Wither effect when they hit you. The Wither effect drains your health over time. It also reduces how much healing you get. The effect gets longer with each hit. After three hits, healing potions barely work.
Wither skeletons rarely drop skulls. You need three skulls to build the Wither boss. You also need them for beacons. This is essential but frustrating. I farm them with a Looting III sword. It still takes hours. Patience is mandatory.
Limited mobs. Specific threats. Preparation required.
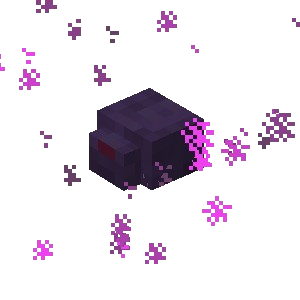
Endermites have a small chance to spawn when you throw an ender pearl. The chance is five percent per pearl. This is rare. Endermen automatically attack endermites. You can use this behavior to build endermen farms. I build platforms. I put an endermite in a minecart. Endermen walk toward it and fall off the platform to their death. This is automatic and efficient.

Shulkers spawn in end cities. They shoot bullets that give you levitation. You float upward. You fall. The fall damage kills you. Shulker bullets are hard to dodge because they track your movement. Shulkers close their shells to block damage. You must attack when they open.
I have died to levitation more than direct damage. I float helplessly. I watch the ground approach. Feather Falling boots help. They do not prevent all damage. Shulker boxes are worth the risk. They let you carry items in your inventory and place them like blocks. This is end-game quality of life.
These require specific actions. Do not appear naturally.
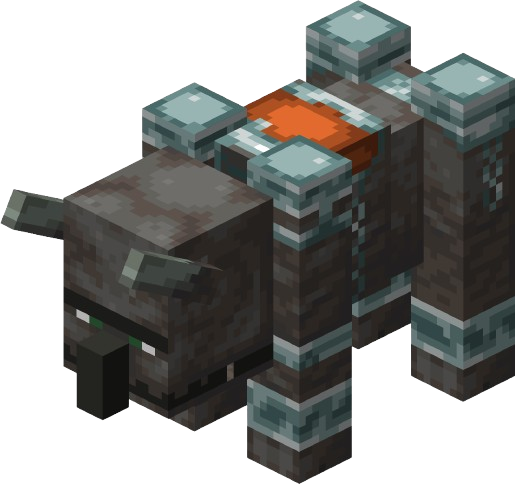
Ravagers only spawn during raids. They roar and charge. They break blocks as they charge. They are the most dangerous raid mob. I have lost entire villages to ravagers. Walls do not stop them. They break through. Iron golems help. Multiple iron golems help more. Preparation saves villages from ravagers.

Vexes are summoned by evokers. They fly through walls. They hold iron swords. They die shortly after the evoker dies. You should always kill the evoker first. The Vexes will disappear. This is priority targeting. It is essential for survival.

Evokers spawn in woodland mansions and during raids. They summon vexes. They make fangs come out of the ground to attack you. They always drop a totem of undying when killed. This item prevents your death one time. It is essential for hardcore mode. I farm evokers in mansions or during raids. Both work. I stack totems. They give me security.

Vindicators spawn in woodland mansions and during raids. They use axes. They move fast. If you name one "Johnny" with a name tag, it becomes aggressive to almost everything. This is a rare easter egg. It is memorable but not very useful.

Pillagers spawn at outposts, in patrols, and during raids. They use crossbows. They sometimes wear banners. These are captains. If you kill a captain, you get the Bad Omen effect. This starts a raid if you enter a village. Accidental raids are common.
I check my status effects constantly. I drink milk to remove Bad Omen. This is my emergency prevention.
Require player action or dimension travel.
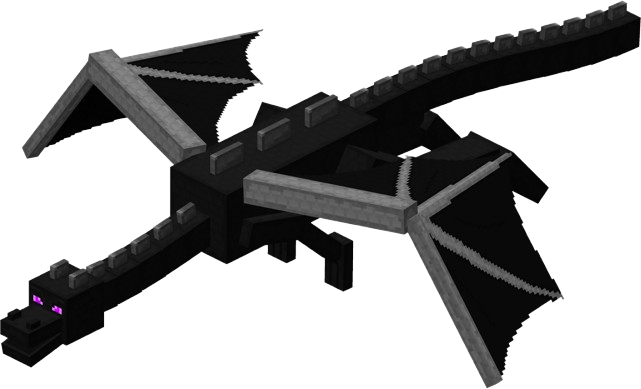
The Ender Dragon lives in the End dimension. You can respawn it with end crystals. It sometimes perches on the center platform. This is when you can hit it with melee weapons. It usually flies. Then you need ranged weapons. The first kill gives twelve thousand experience points. This is a massive level boost.
I still remember my first dragon kill. My heart was pounding. My hands were shaking. It was worth every death that led up to it.
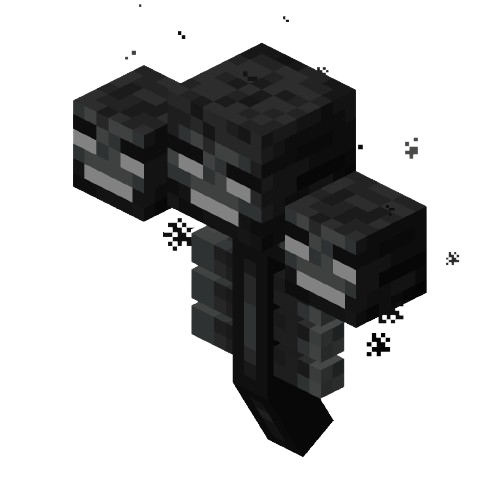
You build the Wither yourself. You need soul sand and three wither skeleton skulls. It explodes when it spawns. It flies. It shoots projectiles. It regenerates health when it is below half health. It drops a nether star. You use this to build a beacon. Beacons give you buffs like haste, speed, and jump boost. These are end-game rewards. The fight is difficult. It is dangerous. Preparation is mandatory.
| Location | Method | Why It Works |
|---|---|---|
| Surface | Light level 8+ | Prevents natural spawn |
| Caves | Torches, slabs | Light and non-spawnable blocks |
| Ocean | Sea pickles, conduit | Light and safety |
| Nether | Half slabs, light | Non-spawnable surfaces |
| End | Limited spawns | Manageable with preparation |
I used to choose my base locations blindly. I would find a pretty location with a nice view and start building immediately. Then night would fall, and mobs would spawn inside my house. I would die and respawn, only to die again in a loop I could not escape.
Now I scout every location carefully before building. I check light levels to ensure safety. I identify biome boundaries to avoid dangerous spawns. I measure distances from structures to prevent unwanted mob generation. Safe bases are designed through planning, not discovered through luck.
My current base demonstrates what proper planning achieves. I built in the plains biome for predictable spawning. I created a fully lit perimeter to prevent surface mobs. I ensured no structures exist within 128 blocks to control chunk loading. I placed slabs over all caves below to block underground spawns. The result is zero hostile mobs inside my base. It is peaceful, secure, and intentionally planned.
Understanding where mobs spawn gives you control over your environment. When you control your environment, you can build without fear.
FREE game server, VPS, web host, dedicated IP & more on most plans!
Get Started