This tutorial will assist you on how to disable the nether and the end on your Minecraft server, using the ElixirNode game panel. Ensure you have a Minecraft server hosting package with us if you don’t already. #1: disabling the nether STEP 1 Login to the game panel, then
This tutorial will assist you on how to disable the nether and the end on your Minecraft server, using the ElixirNode game panel. Ensure you have a Minecraft server hosting package with us if you don’t already.
#1: disabling the nether
STEP 1
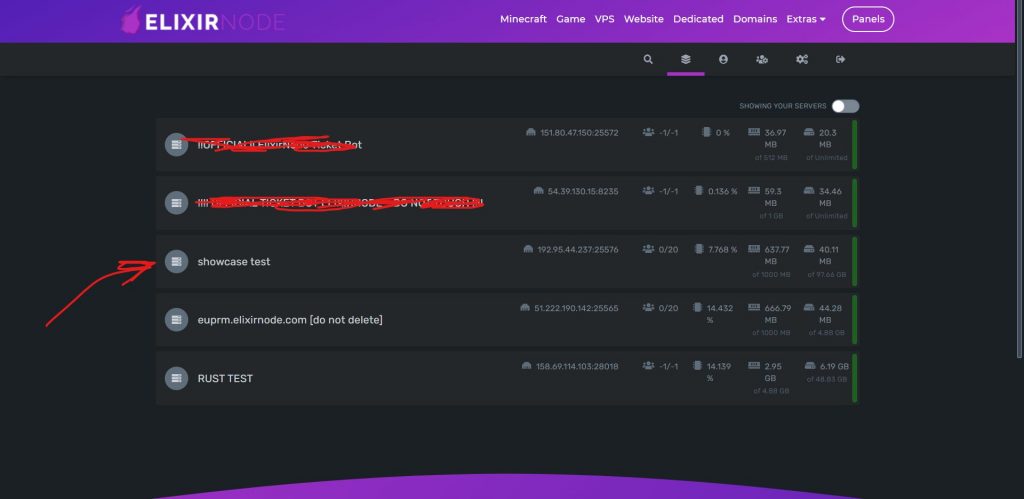
Login to the game panel, then click on your server.
STEP 2
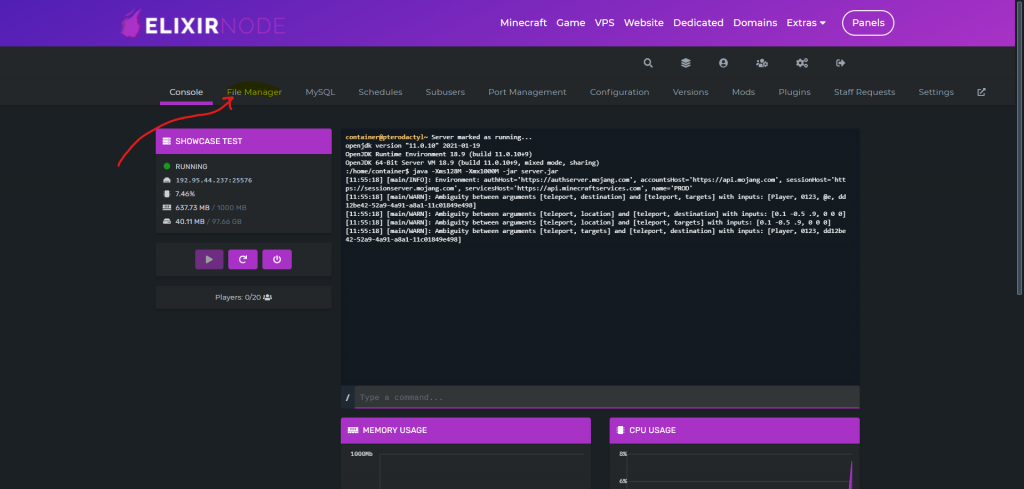
Once you have clicked your server, click “File Manager”.

STEP 3
After clicking File Manager you should see a file named server.properties click that.

STEP 4
After clicking it you should see a text file scroll down until you see allow-nether. If you would like to disable the nether set true to false.

STEP 5
Click save content and then you’re done! You have finally disabled the nether.

#2: disabling the end
STEP 1
Go to the versions tab, and install any version of spigot you would like.

STEP 2
After picking what version of spigot you would like to download, go back to the file manager.
STEP 3
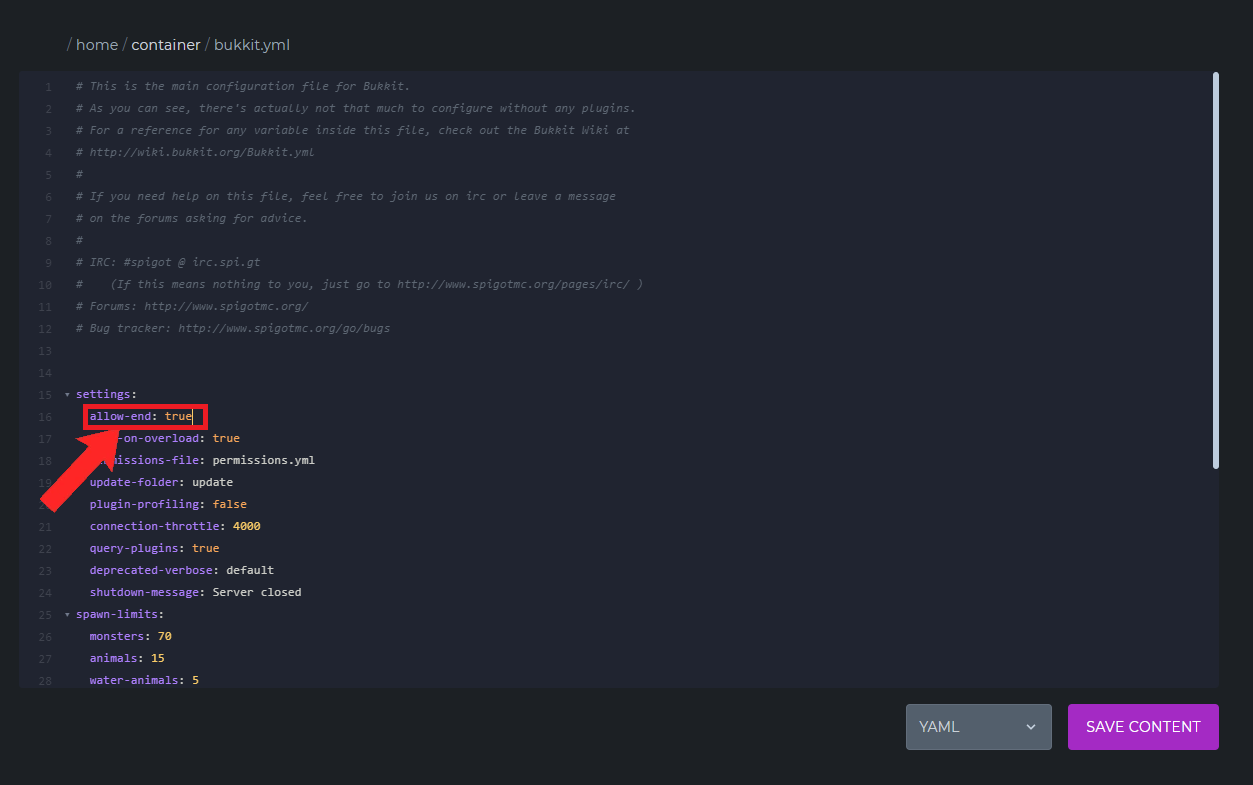
After you’re in the file manager click on the file bukkit.yml.

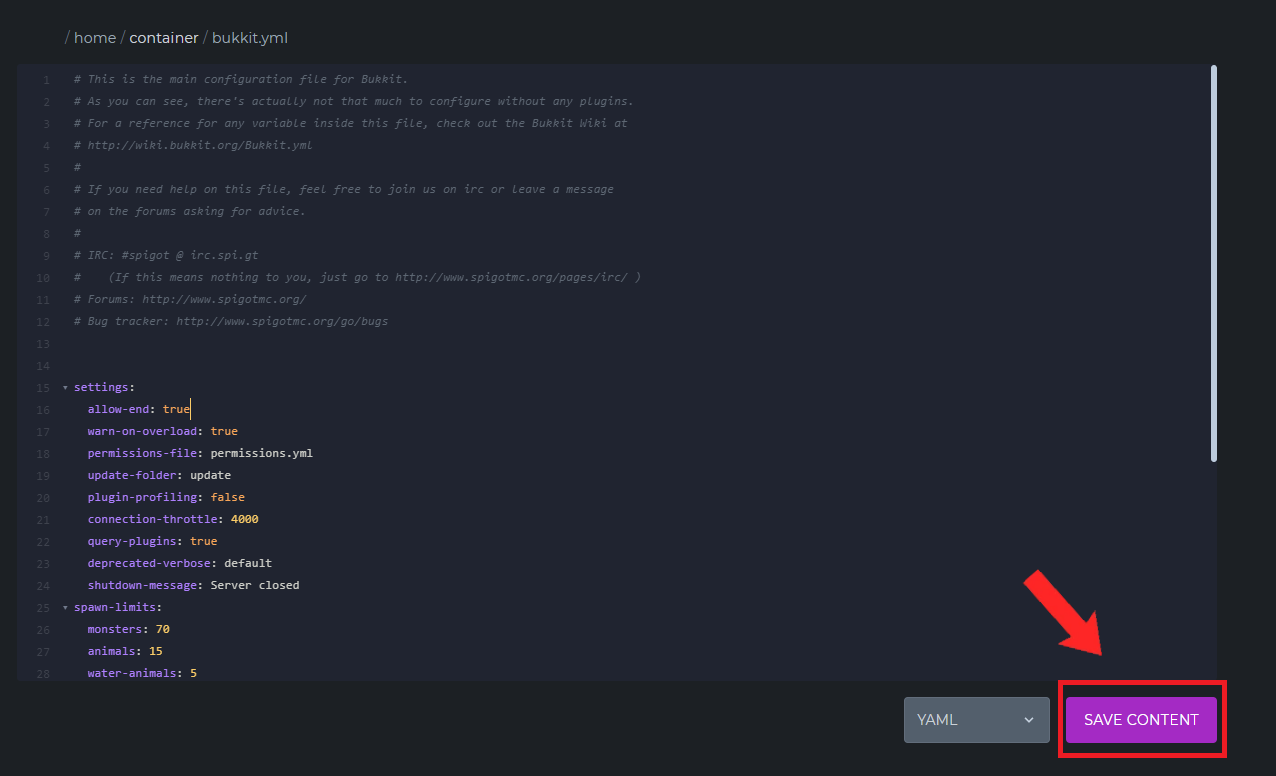
STEP 4
After clicking it you’ll see a lot of text. The line under settings should say allow-end. If you would like to disable the end set true to false.
STEP 5
Click save content and then you’re done! You have finally disabled the end!
Tutorial Conclusion
– Disabling nether/end when you won’t use them, will reduce lag on your server!
– Disabling the end and the nether is great for things like SMP’s that don’t allow the end!
– You can always enable the nether and the end at any time by refollowing the steps!
– Portals will no longer able to be activated, but will still generate on non-superflat worlds.
If you still require more assistance or encounter any issues, please feel free to contact us!
FREE game server, VPS, web host, dedicated IP & more on most plans!
Get Started