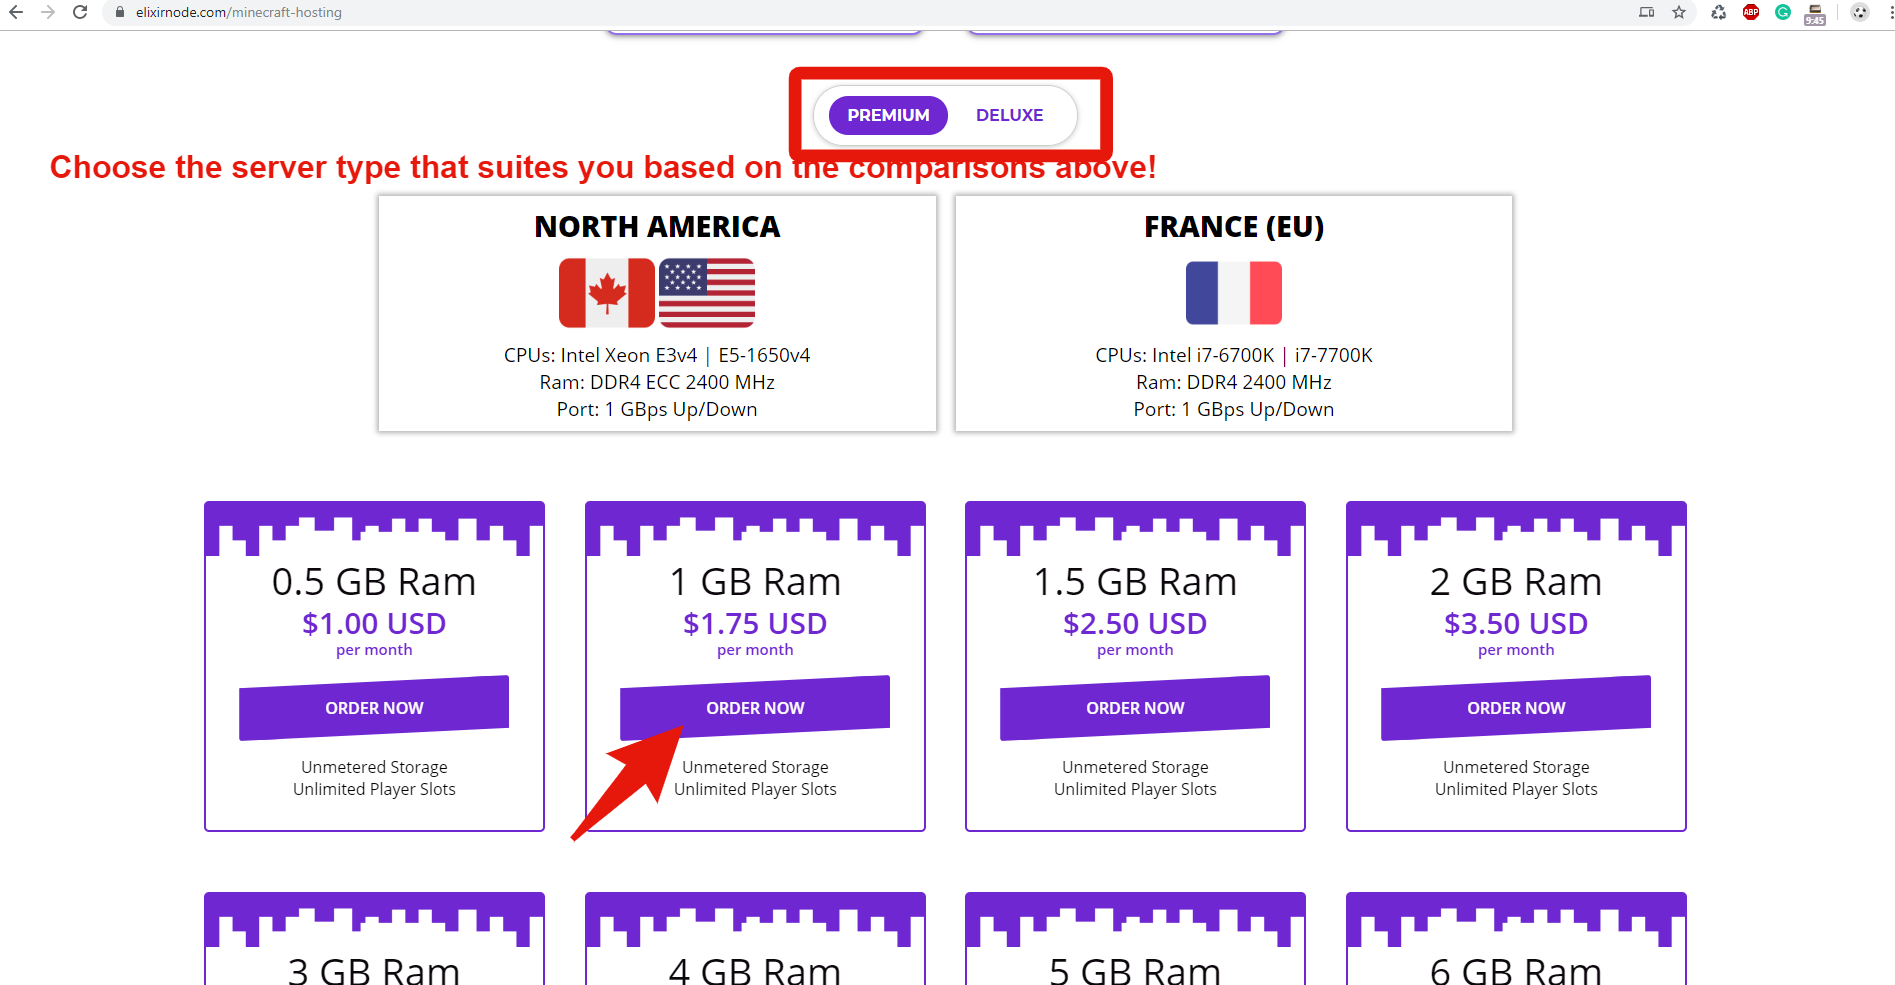
STEP 1 Head to our Minecraft hosting page. STEP 2 You will see a comparison between our Premium & Deluxe plans, you may choose the type that suits you best by clicking on “Premium” or “Deluxe” via the slider button to check out the available plans. Once you have selected

STEP 1
Head to our Minecraft hosting page.
STEP 2
You will see a comparison between our Premium & Deluxe plans, you may choose the type that suits you best by clicking on “Premium” or “Deluxe” via the slider button to check out the available plans. Once you have selected a server type you will find the best plan for you then click “Order Now”.

STEP 3
Configure your server how you like it, we recommend adding a dedicated IP to your order and the freebies that may come with eligible plans! Do not forget to select the server location that’s best for you and enter a desired panel login name.
STEP 4
Once you are near the end, you will be able to review your cart, you may add more plans from our services but if you’re all done then click the green “Checkout” button!
STEP 5
Fill in all the details as accurate as possible, do remember that it is against our terms of service to provide inaccurate information to us. After you have completed the registration info read over our terms of service then agree to it to complete your order.
STEP 6
You will now be redirected to your invoice if not you will see options to checkout. The PayPal “Subscribe” option will allow you to create an automatic subscription with us. The PayPal “Check out” button will allow you to pay manually. You do not need a PayPal account to complete your payment.
STEP 7
After payment your server should be activated, if not then contact support. Make sure to keep an eye out on your email, search for the email “Panel Login Details” which will contain your credentials to our Minecraft panel. You should be able to login and you’re all set!
If you find any outdated information or still need help contact us @ https://elixirnode.com/support
Thank you,
ElixirNode Support