This tutorial will show you how to install the popular Dynmap plugin on your hosting for Minecraft server normally and using a MySQL database, this plugin is extremely popular as it creates an online map of your Minecraft server worlds. Your server will need to be running Bukkit, Spigot or any of their forks for this to work. Using a top Minecraft server jar is important especially for a big server, you can learn how to install a custom cheap Minecraft server hosting jar here and know how to download one here.
STEP 1
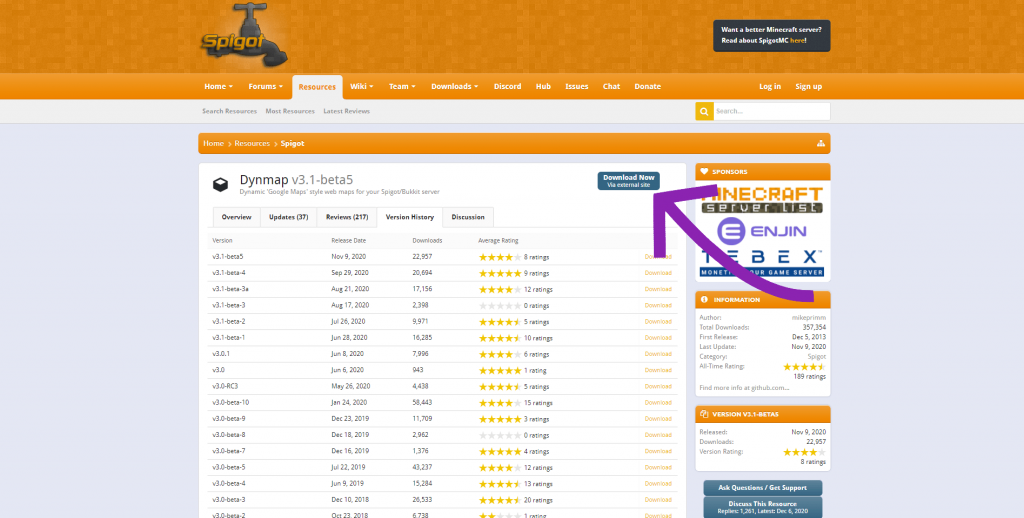
The first step is to get the Dynmap plugin, you can download the .jar file from here. Make sure you select the correct version so that it corresponds with your best minecraft server hosting version, for example I am running a 1.16.3 server so I downloaded the latest Dynmap .jar file that is compatible with 1.16.3.
STEP 2
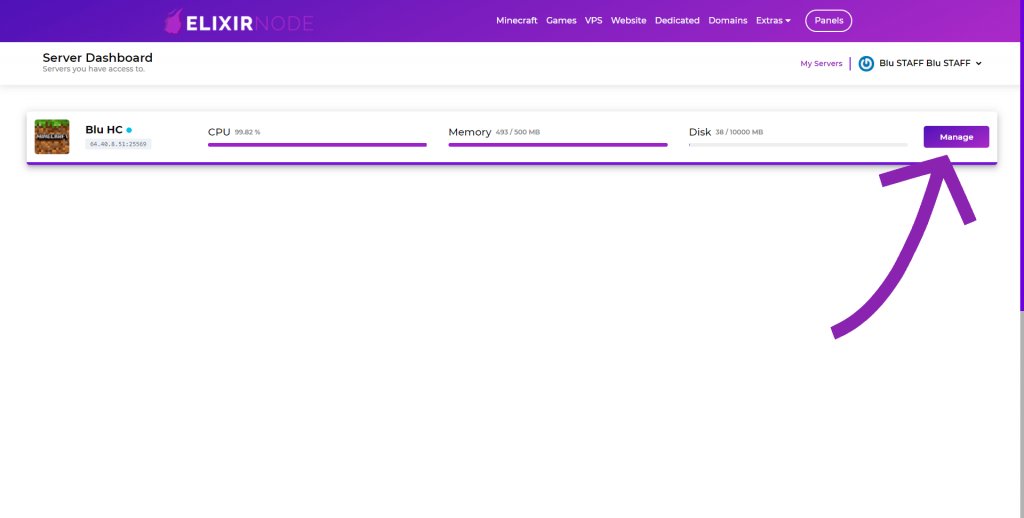
The next step is to log into the Game Panel here. From there select the server you want to install Dynmap on by pressing the “Manage” button on the far right of the best minecraft server hosting information.
STEP 3
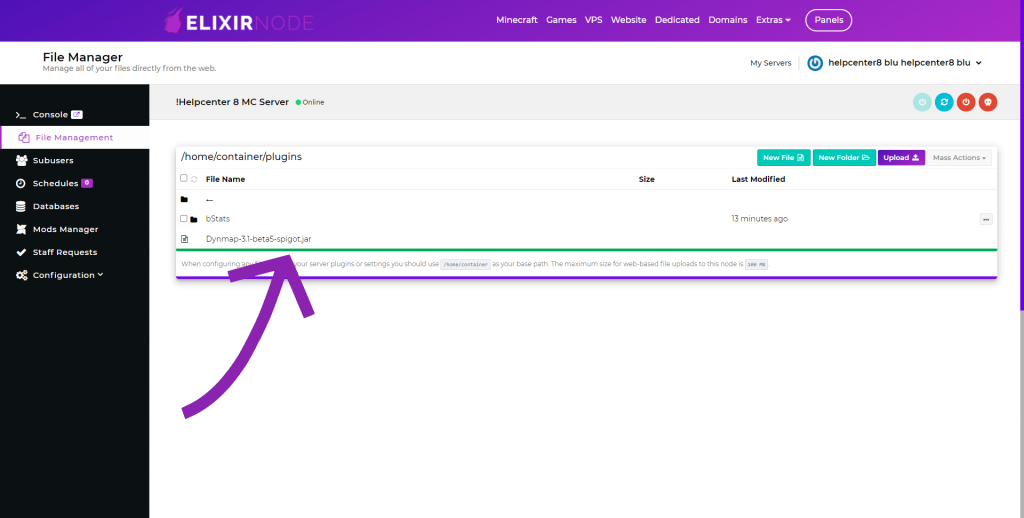
You will now be presented with your best minecraft server hosting overview page, navigate to the button called “File Management“, from there you will want to click on the folder called “Plugins” and then the button labeled “Upload“, now you need to select the Dynmap .jar that you just downloaded. Once it has uploaded press the “Restart” button to restart your best minecraft server hosting server.
STEP 4
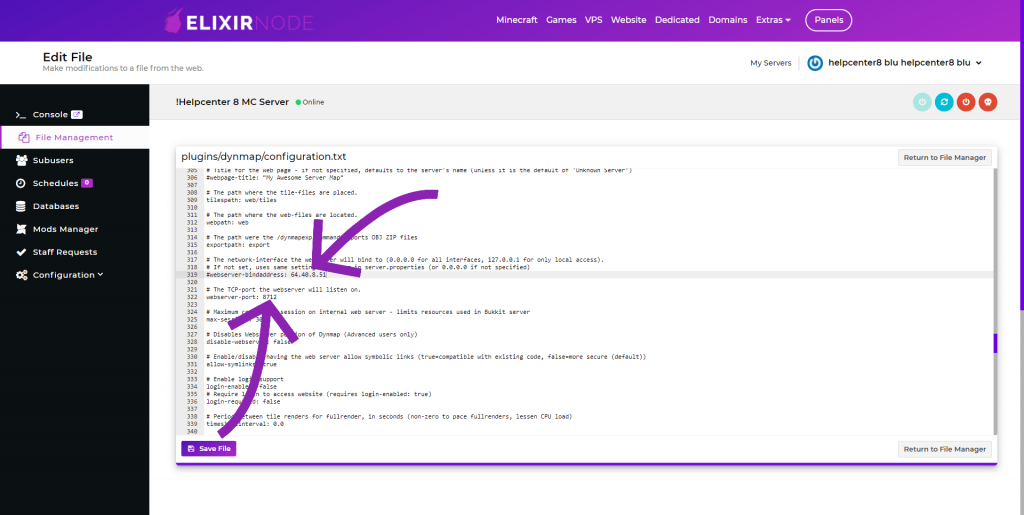
Once your server has restarted you are going to navigate back to the folder named “Plugins“, there should now be a new folder inside of it called “Dynmap“. Go into this folder where there will be a file called “configuration.txt“, now click it to edit it. Then navigate to the line which says “webserver-bindaddress” (Line 319) and change the IP address from “0.0.0.0” to your server IP address, it is also recommended that you change the line which says “webserver-port” port number from “8123” to any number from 8000-9000 (You will need to contact support staff here to open the selected port for your best minecraft server hosting if you do not already have one.) Next just save the file and restart your server once more.
STEP 5 [MYSQL DATABASE] (optional)
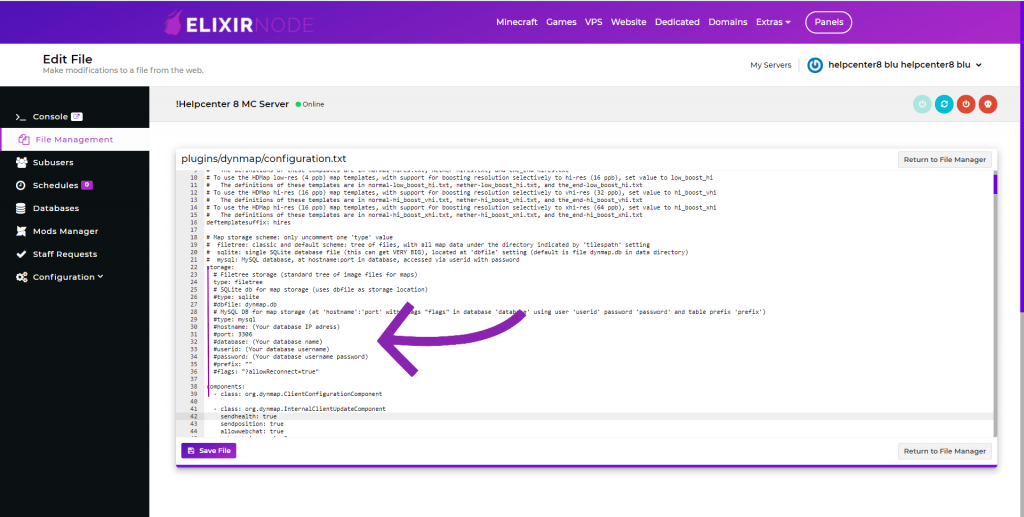
This next step is on how to connect your MySQL database to Dynmap. If you are unsure on how to make one you can take a look at this article. Setting up MySQL is very easy, all you need to do is go back to your “configuration.txt“, go to line 30 of the file and fill in your database details. After you have done that again save the file and restart your server.
STEP 6
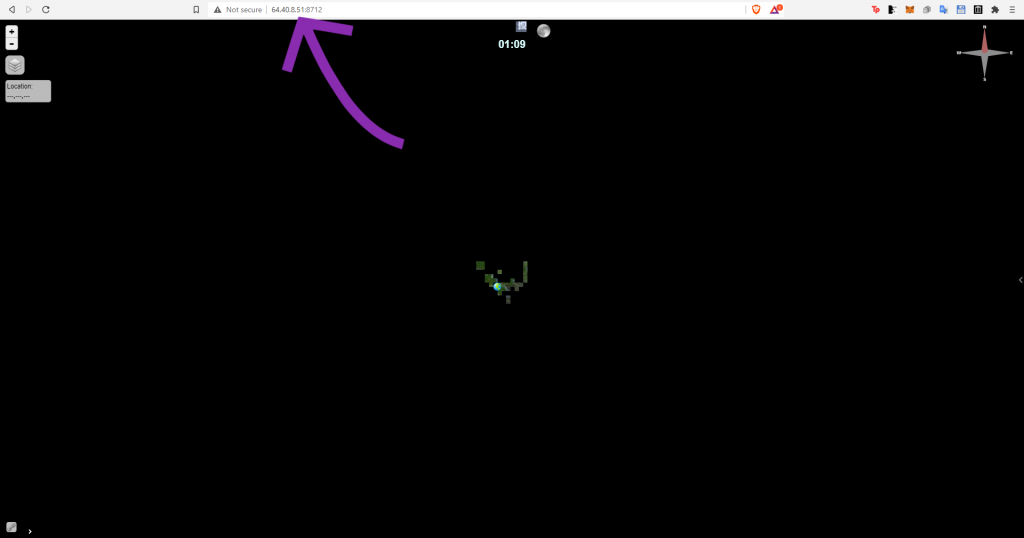
Now it’s time get to your Dynmap website where it will show your best minecraft server hosting world maps. To do this you simply have to click on your search bar at the top of your browser and type “serverip:portnumber“, make sure you replace “serverip” with your server IP and “portnumber” with the “webserver-port” you just chose. So for example I would put in “64.40.8.51:8712” in my browser. (If this does not work for you make sure that the support staff have opened your selected port, you can contact them here.) Before doing this you may also want to reset your worlds if you want to start a fresh world.
STEP 7
As you can see from the image above almost the whole map is black, this is because the chunks have not been loaded by Dynmap yet. To load the chunks simply navigate back to the Game Panel here then press the “Manage” button next to the your server, you should now see the server console where you will need to type “dynmap fullrender“. Lastly go back to your Dynmap website where you should now have a full map of your world looking like this:
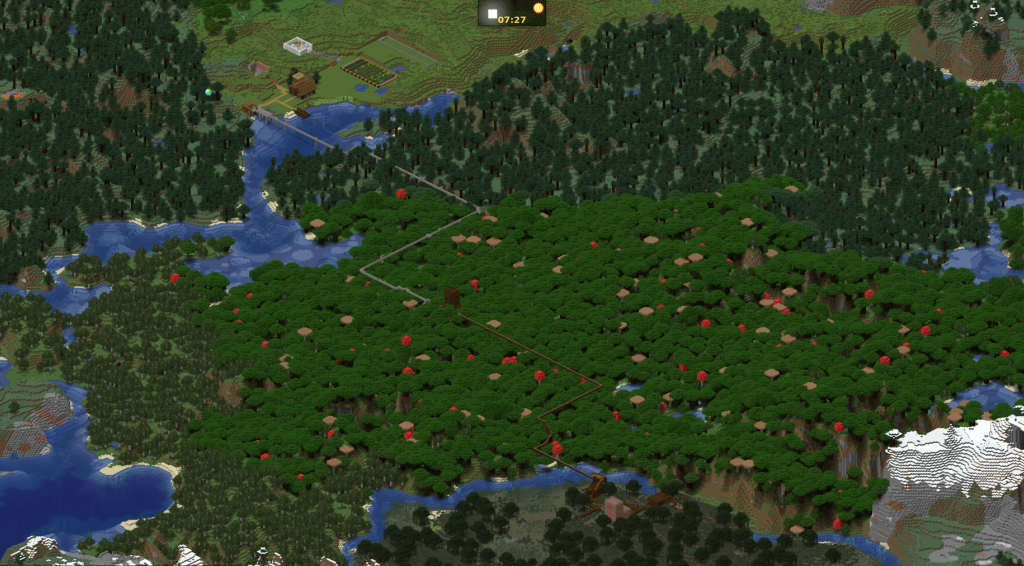
– When doing a full render your server’s RAM usage will spike, don’t worry as this is perfectly normal.
– From your Dynmap website you have the ability to view your best minecraft server hosting worlds in both 2D and 3D.
– You can also see the world time, weather and players on the dynmap map.
– It is recommended that you use a MySQL database for Dynmap as it uses a lot of storage.
If you have any further questions or need help contact us.

