
You can run a simple Minecraft server host on your Linux VPS. This is great for testing new concepts and plugins for a short amount of time and more! STEP 1 SSH and login to your VPS. STEP 2 Run sudo apt-get update && sudo apt upgrade to update

You can run a simple Minecraft server host on your Linux VPS. This is great for testing new concepts and plugins for a short amount of time and more!
STEP 1
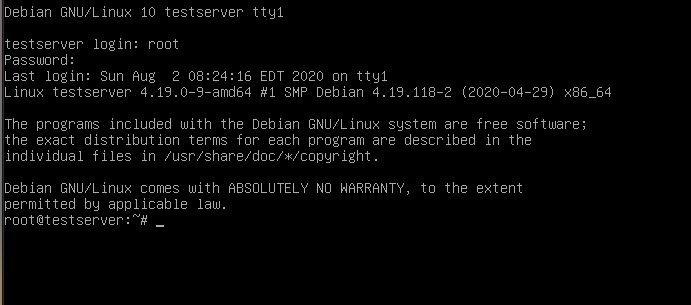
SSH and login to your VPS.
STEP 2
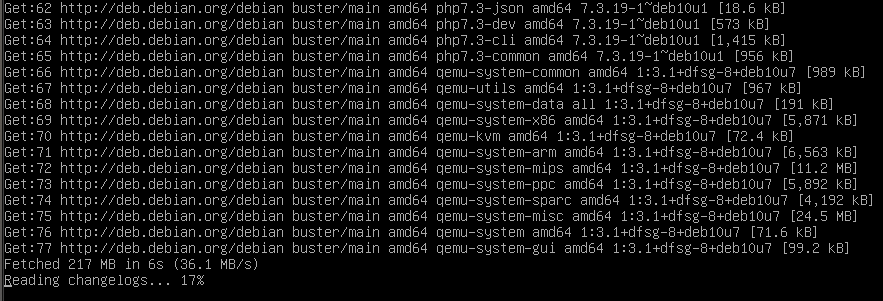
Run sudo apt-get update && sudo apt upgrade to update your system. Then run sudo apt install default-jre OR sudo apt install default-jre-8 depending on if you want or need to use Java 8.
STEP 3
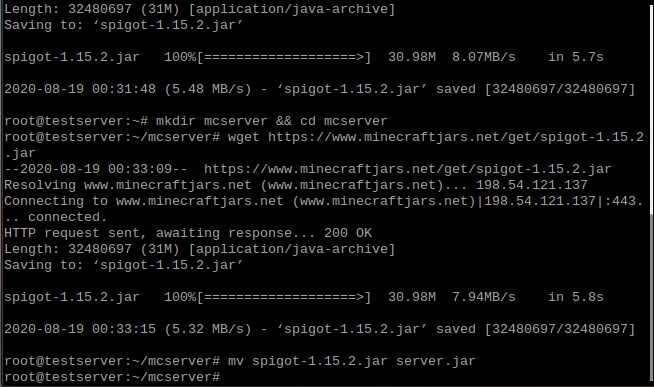
So to get a jar on your VPS you need to create a new folder. Run mkdir mcserver && cd mcserver download it with the wget <url> command. To get a download a copy of the current version of paper, go to minecraftjars.net, right click the latest version’s download button and right click. In the menu click on “Copy” or “Copy Link Location” etc… Then type wget and paste the link and your command should look like wget https://www.minecraftjars.net/get/spigot-1.15.2.jar but with maybe some different numbers.
STEP 4
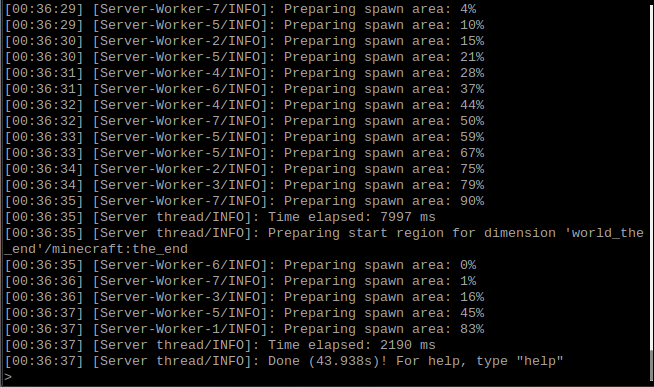
To start your Minecraft server, run mv download-file server.jar and replace download-file with the name of your download to rename it so we can use the start command java -jar server.jar Congratulations! You have a Minecraft Server running! You will likely need agree to the EULA, so edit eula.txt when the server starts back up with your favorite text editor like nano. to You can run stop or press ctrl+c to stop the server.
STEP 5
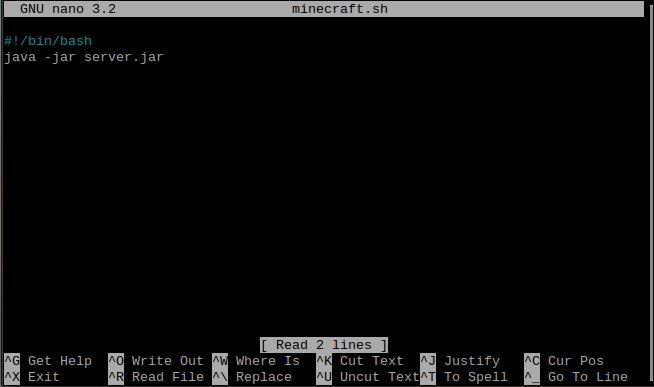
Create a startup script by creating a file called minecraft.sh run touch minecraft.sh to create it. type nano minecraft.sh to edit the file type in the following on the first line #!/bin/bash and on the second line put java -jar server.jar Once done press ctrl+o and press enter to save then ctrl+x to exit. run chmod +x minecraft.sh to make it executable then enter ./minecraft.sh to start the server.
If you have still need help or have any further questions, contact us.